Cricut Business Cards: Folded Card Step by Step Tutorial
If you’re looking for a creative way to stand out, these tri-fold business cards (that you can make with your Cricut) are one of the most fun and unique projects you can make with your cutting machine. Instead of traditional flat business cards, this folded style reveals a split image design that lines up when the card is closed and opens to display your information inside.
Not only are these trendy right now, but they’re also incredibly customizable. You can design them for your own brand, create them for a small business, or even sell custom business cards in your shop. Since this project uses Print Then Cut, you can incorporate logos, vibrant colors, graphics, and even QR codes to link people directly to your website or shop.
In this tutorial, I’ll show you how to design and cut your own Cricut business cards step by step using Cricut Design Space. I’ll also share a few tips so you can get clean edges, perfectly centered score lines, and a professional finished result.

Supplies You’ll Need
Before we start designing these folded business cards, gather your materials.
This blog contains affiliate links, which means I earn a commission when you purchase something through my link at no extra charge to you. Please read my full disclosure here.
Materials
- Photo paper or cardstock – I think a nice sturdy glossy paper is the way to go. This is thicker than the paper I used.
- Printer – I love my Epson Ecotank 2400
- Cutting mat – LightGrip or Standard
- Scoring stylus or scoring wheel
- White crayon (optional for glossy paper)
- Cricut machine – any model other than the original Joy.
If you enjoy making Cricut crafts that are both functional and creative, this is a great beginner-friendly project.
Step 1: Upload Your Image to Cricut Design Space
Open Cricut Design Space and start a new project.
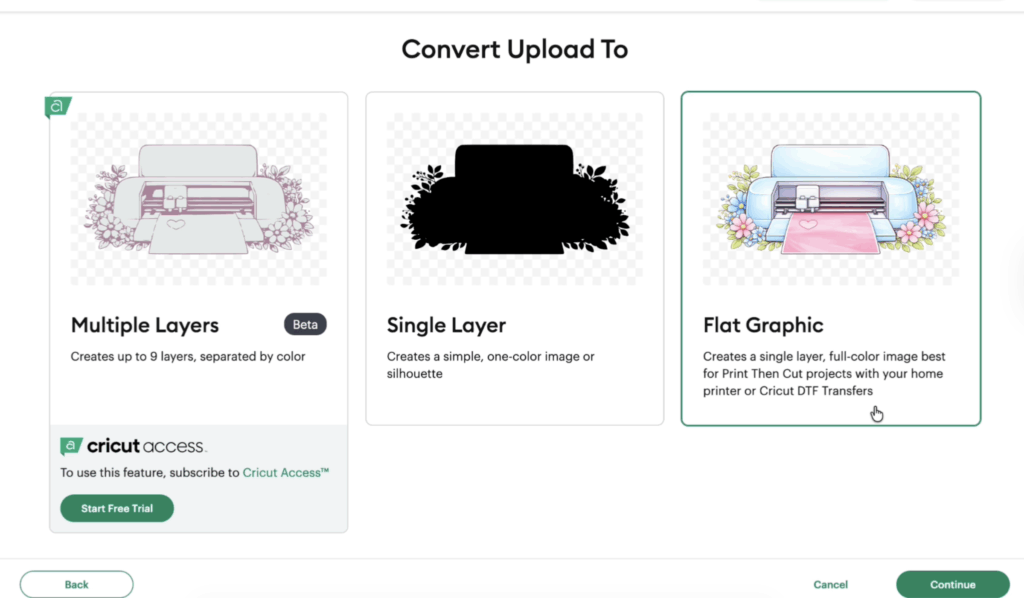
Click Upload and upload the PNG file you want to use. Since this is a Print Then Cut project, upload the design as a flat graphic.
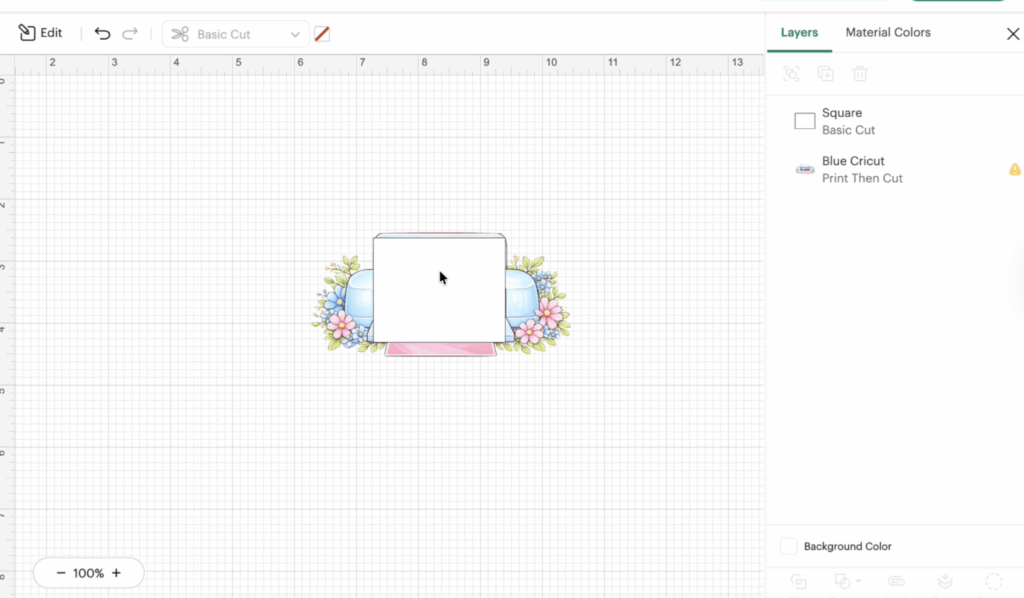
Once the image is on your canvas, resize it to the size of a standard business card.
A typical card is:
- 3.5 inches wide
- 2 inches tall
You can adjust slightly depending on your design, but keeping the height at about two inches works well.
Because this project is fully customizable, design templates like logos, illustrations, or graphics can all work.
If you are a content creator or running a small business, you might want to incorporate your branding colors and contact information directly into the card design.
Step 2: Create the Folded Card Insert
Next, create the center insert that will hold your text.
In Cricut Design Space, insert a square shape and resize it so it fits between the two halves of your image.
This piece will fold and hold your contact information, including:
- your name
- phone number
- website
- social media
- QR codes
The insert can be any color you want, but white works well because it keeps the design clean and readable.
This center panel is what turns regular business cards into folded cards that reveal information when opened.
Step 3: Add Text and QR Codes
Now it’s time to personalize your business cards.

Add a text box and type your name or business name. Because this is a Print Then Cut project, you can use any font you want.
Resize the text so it fits on one side of the insert panel.
On the other side, add your QR codes. These are incredibly useful because they allow customers to scan and instantly visit:
- your website
- Etsy shop
- Instagram page
- online store
Adding QR codes is one of the easiest ways to make modern business cards interactive.
You can also include additional contact information like your phone number, email, or social links.
For many content creator brands and small business owners, these elements make the card far more effective.
Step 4: Slice the Image for the Split Design
The next step is creating the split image effect.

Insert a rectangle and place it over half of your design.
Resize the rectangle so it covers exactly half of the image. I used align and made sure to adjust left.
Then:
- Select the rectangle and the image
- Click Slice
This will divide the graphic into two halves.
Delete the extra pieces so you are left with two equal parts.
These halves will form the outside of your folded business cards, creating the effect when the card closes.
Step 5: Flatten and Add Score Lines
Before printing, you need to flatten your design.

Select all printable elements and click Flatten.
This converts everything into a single Print Then Cut image.
Now add your score lines.
Insert a score line and resize it to the height of your card. This center score line will allow the card to fold cleanly. This is what I forgot to initally adjust!
You can also add two additional score lines on the sides to create the fan-style fold.
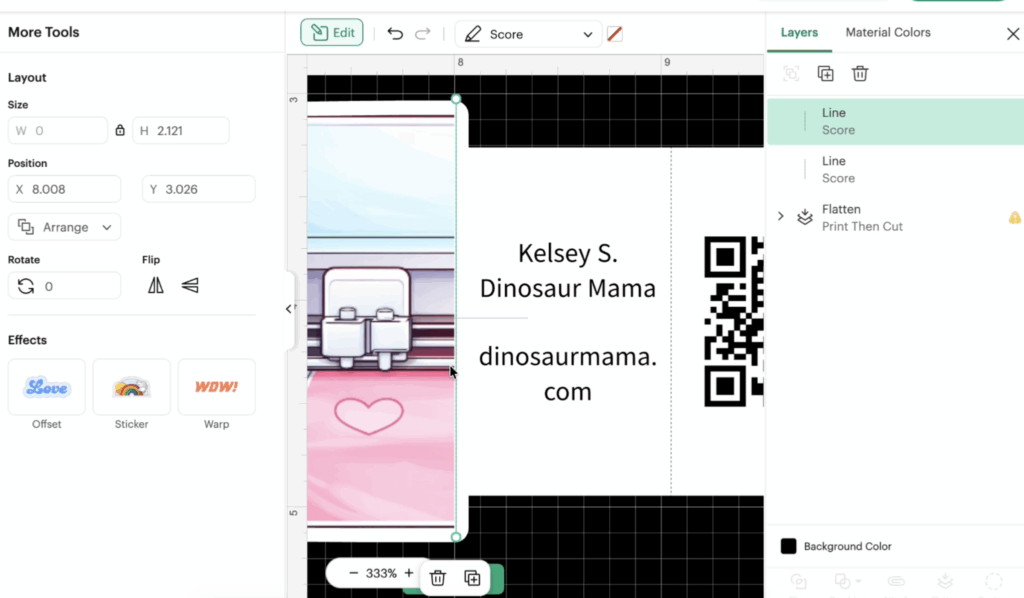
Proper score lines help create crisp folds and professional clean edges, which makes your business cards look polished.
Once all score lines are placed, attach them to the design.

Step 6: Print and Cut the Cards
Click Make It.
You can usually fit four folded business cards on one sheet. But learn how to max your prints here.

Before cutting, print the sheet using your printer settings for photo or high-quality printing. This will help maintain vibrant colors.
If you’re using glossy paper, the sensor marks may be difficult for the Cricut machine to read. A simple trick is to lightly color over the sensor lines with a white crayon to reduce glare.
After printing:
- Place the sheet on your cutting mat
- Load the mat into your Cricut machine
- Choose a medium cardstock setting
- Start the cut
Your machine will cut the card shape and score the fold lines.
Fold Your Business Cards
Once cutting is finished, remove the cards from the mat carefully.


Fold along the score lines:
- Fold the card in half first.
- Then fold the side panels outward.
This creates the signature reveal style used in these folded Cricut business cards.
When the card is closed, the two halves of the design align perfectly. When opened, the inside shows your contact information.
Download the Free PNG Files
If you want some images ready to go, I created five free PNG designs you can use to make your own folded business cards.
You can download them inside my Community Vault.
Design Number: #222
To access the files:
- Join my email list below.
- Check your inbox for the vault password. Make sure to check promotions and spam.
- Download the PNG files in the vault and unzip the file.
These free PNG files are intended for personal use, but I do include a small business commercial use license for handmade physical products.
Please do not share the zipped file directly. Instead, send friends to the original post so they can download their own free files.
You can learn more about how to download the files and access the vault here.
Tips for Perfect Results
Here are a few extra tips when making Cricut business cards:
Check alignment before cutting
If your score lines are slightly off, the design may not line up. Always center them in Cricut Design Space.
Use thicker paper
Some photo paper is thin, so cardstock may give your business cards a sturdier feel.
Be careful with laminate
If you add laminate or holographic overlays, they might interfere with QR codes scanning.
Can You Sell These?
Yes! Many small business owners and content creator brands sell custom business cards.
You could offer:
- custom design templates
- personalized QR codes
- branding packages
If you create your own graphics or logos, you could even sell these designs for personal use or commercial projects.

These folded Cricut business cards are a creative way to make a memorable first impression. The split image design, combined with QR codes, bold graphics, and vibrant colors, helps your brand stand out from traditional business cards.
Whether you’re making them for your own small business, sharing them as a content creator, or adding them to your shop, they’re a fun and practical project to try.
With just a Cricut machine, a few supplies, and your own creative touch, you can create unique business cards that people will actually remember.