How to Emboss with Cricut | Hack with Scoring Stylus
If you’ve ever wanted to achieve that gorgeous raised “embossing folder” look with your Cricut machines but don’t have a fancy embossing tool—good news! Today I’ll walk you through how to emboss with Cricut using just the scoring stylus and your regular cutting machine. I used my Cricut Maker 4 for this project, but the steps work beautifully on any machine that can use the scoring stylus, including the Explore series.
This method gives you crisp, professional-looking texture on your cardstock using just a clever layering trick in Design Space. Let’s jump in!
Supplies I Used
*this blog contains affiliate links, please read my full disclosure here.
- Cricut Maker 4 but again, any machine that can use the scoring stylus can use this trick!
- 80 lb cardstock (for base layer) – if you only have 65 thats ok!
- 65 lb cardstock (for embossing layer) – preferred lighter but will work for heavier too, test out more layers of scoring if needed!
- Scoring stylus
- Standard grip mat
- Stencil-style SVG design is ideal
Note: A great way to get that embossing folder effect is to start with a stencil-style SVG file. I grabbed mine from Creative Fabrica. You can use any file you like, just make sure it’s a solid cut design that will look good as an outline.
Check out some of my other favorite hacks here!
Step-by-Step Cricut Embossing Tutorial

1. Upload your design
Import your stencil or decorative design into Cricut Design Space. Weld the pieces together if needed so it cuts as one solid image.
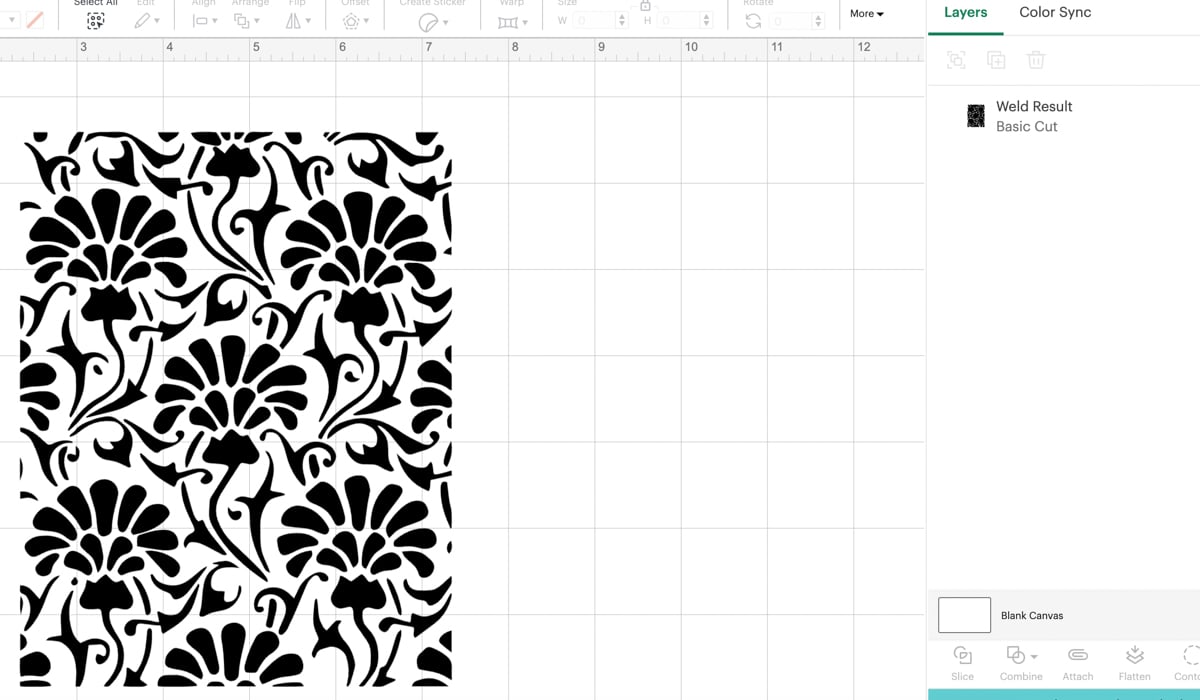
2. Resize and duplicate
Adjust the size of the image to fit your project. Then, duplicate the image.
3. Change lines to “score”
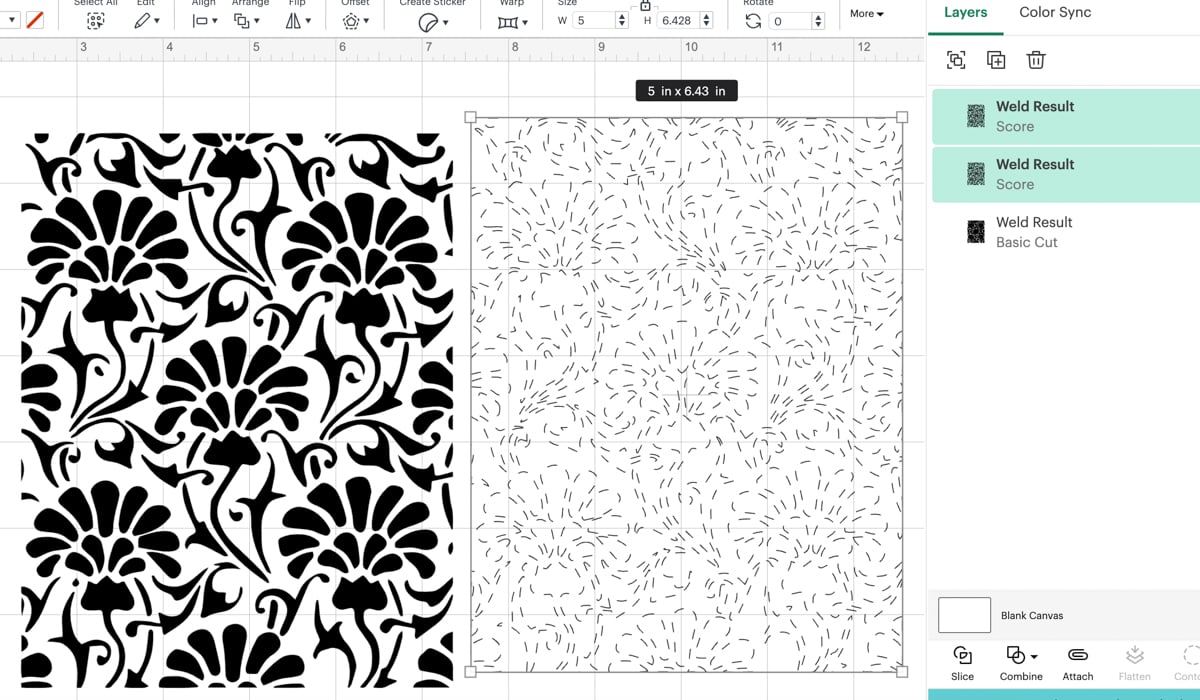
- Change the duplicate to “Score.” Then duplicate this so you have two.
- On the second duplicate, apply a very small Offset of 0.01 to add a slight variation. Then, change that offset layer to “Score” as well if it isn’t already.
4. Align and attach
Select all versions (the original cut and three score layers) and align them to the center.
Only attach the three score layers together—do NOT attach the basic cut.
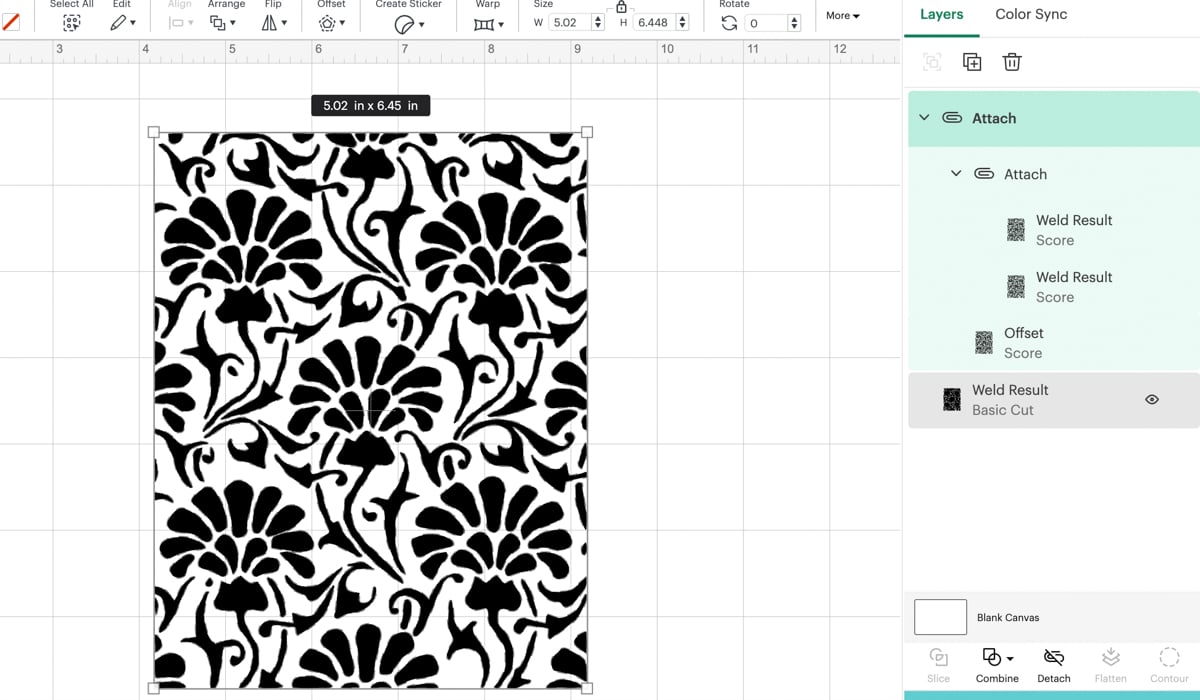
This is the key to creating depth and simulating that embossing folder texture using layered score lines.
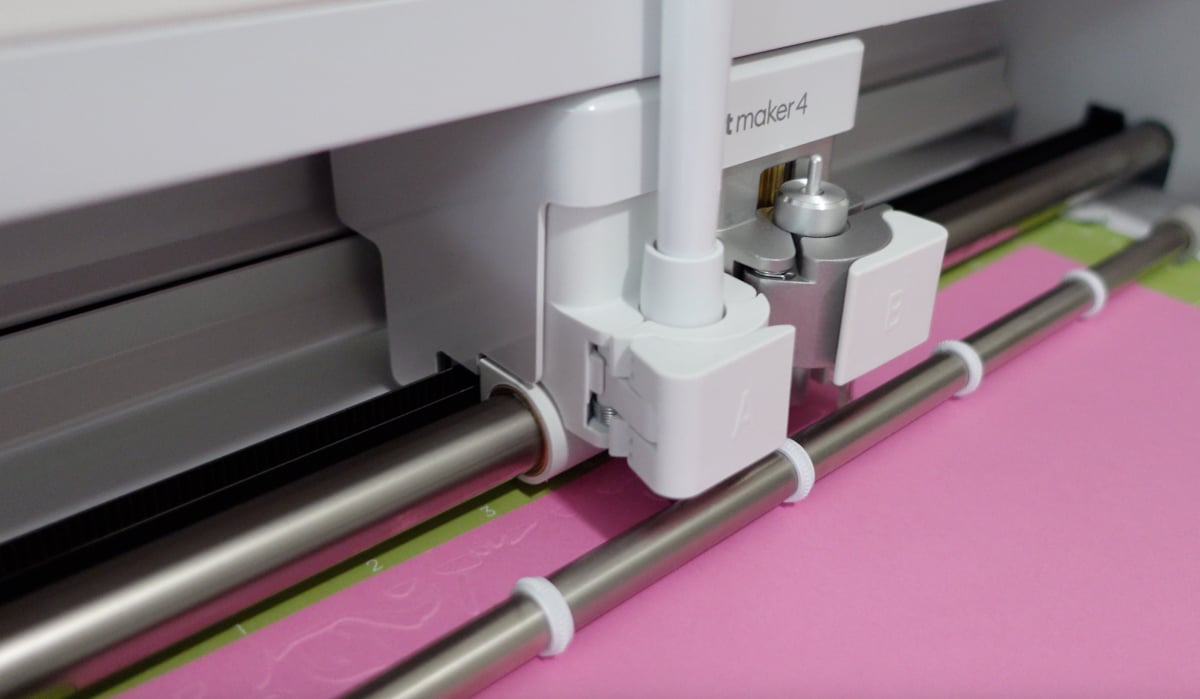
5. Prepare your mat
To make scoring/embossing and cutting easier:
- Move the design down and over at least 1 inch in the Design Space preview before cutting. So both designs corner to the 1 mark down and over.
- This ensures better paper grip for the scoring/embossing layer and prevents raising on the top cardstock layer.
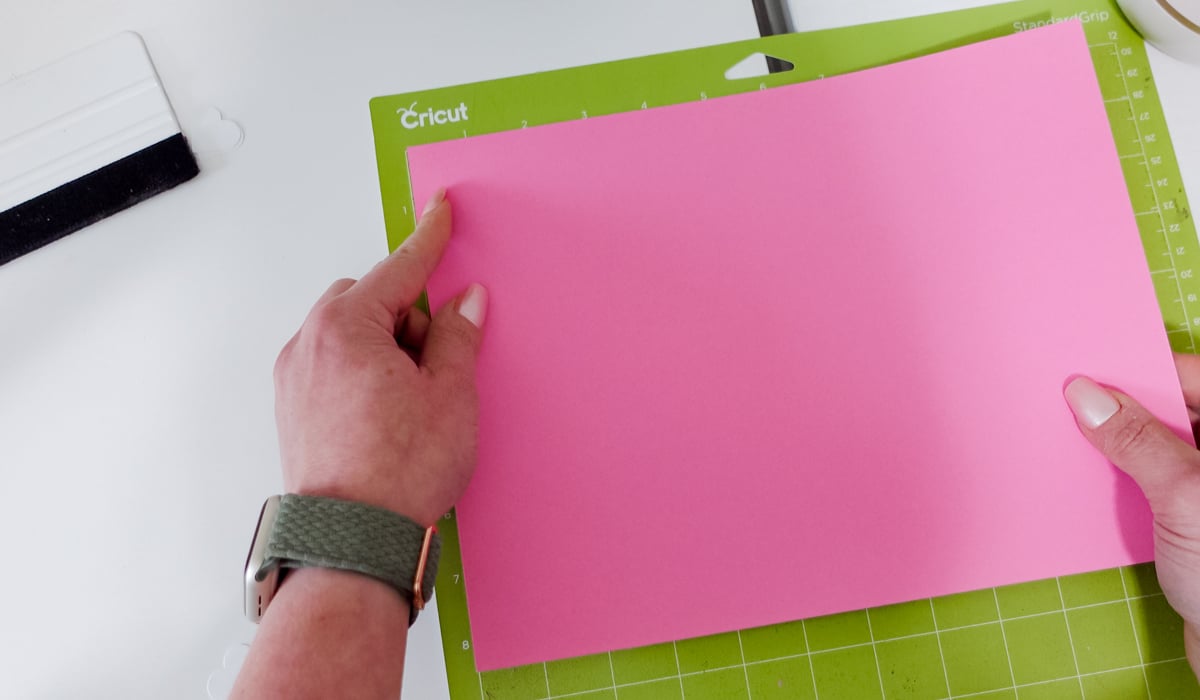
6. First cut: base layer
Place your 80 lb cardstock on the mat and send the project to cut. Remove the surrounding excess paper, leaving only the design on the mat. You might need to weed out any middle pieces here.
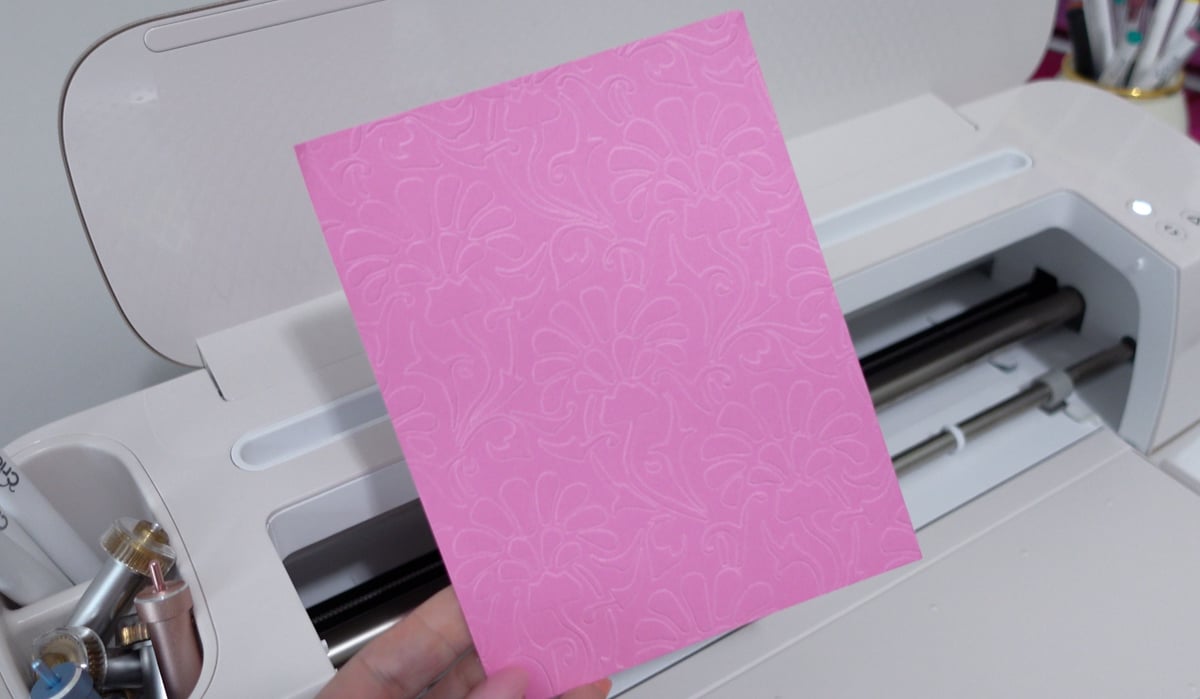
7. Add embossing layer
Lay the 65 lb cardstock directly over the cut design—this will be your embossing sheet. Use painter’s tape if needed to hold it in place.
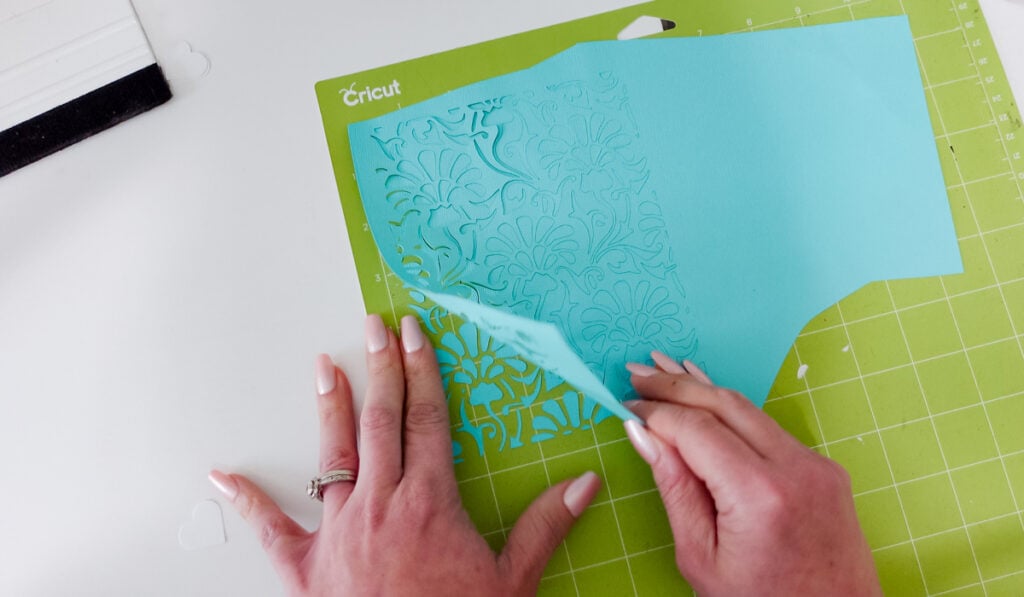
8. Send score lines
Now, go back and send the project again—but this time only the scoring layers will run. Your scoring stylus will press into the top layer, following the shape of your cut below it to emboss the design.
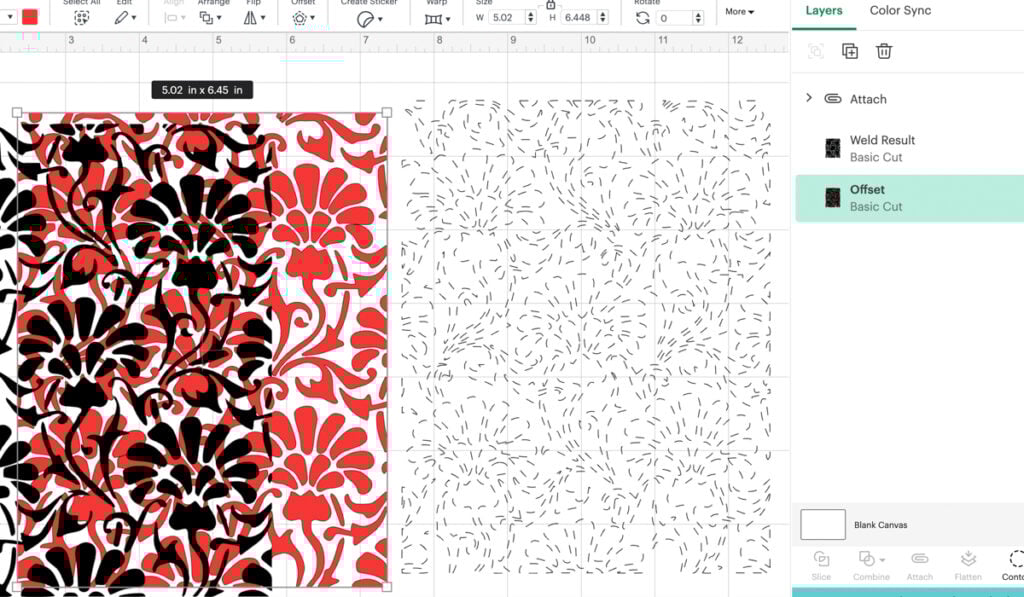
9. Optional: Add a cut outline
If you want to cut around your embossing as a shape:
- Add a shape layer and change it to a different color so it’s on a separate cut pass.
- Align it with your design and attach it to the scoring layer (put these on top) but make sure you do not attach that emboss cut layer.

Troubleshooting Tips
Why doesn’t my embossing show up?
- Make sure you’re using lighter weight cardstock on top (like 65 lb) so the stylus has more impact.
- Check that your scoring stylus is properly loaded and calibrated in your Cricut machine.
My layers aren’t aligned!
- Check alignment in Cricut Design Space.
- Keep your original cut stuck to the mat while embossing—this keeps everything in the exact same position.
Can I do this with the Cricut Joy?
This method requires the scoring stylus, which isn’t compatible with the Joy. But if you’re using a Maker or Explore, you’re good to go!


Do you have a video I am visual more than reading instructions
Valera
Yes I posted one here: https://www.instagram.com/reel/DI1NoOLRscD/?igsh=ZmRwNDA1enl3d2Zv
some people have had success on the joy using the foiling tool as a scoring tool. I have not tried this embossing technique with it though, so it may or may not work.
Someone messaged me about this hack and said it works for this embossing hack!
This is BRILLIANT!! Thank you for sharing. I tried it and it worked!
Thank you so much! This worked beautifully! I can not wait to try more!
Love your Cricut hacks
Thank you!!
Thanks so much for this idea. I love it. I, too , don’t havc an embossing machine.
So I’m going to definitely am going to try this.
Kelsey, I just got my very first cricut (Maker 4) and found one of your tutorials through a Facebook reel. I have been binge reading through many of your tips, tricks and tutorials ever since and have learned so much and can’t get enough! Thank you so very much for sharing your files, resources and knowledge. You make me inspired to go create!
Ahhh! thank you so much!!! Enjoy creating all the things!
Is there a way to download these instructions like in a PDF? Thank you so much.
I don’t have any PDF I am so sorry about that.