Cricut DTF Transfers Explained: An Honest Review & Tutorial
If you’ve opened Design Space recently, you may have noticed a brand new feature: Cricut DTF transfers. This new option allows you to upload or create a design, order a printed transfer directly from Cricut, and press it onto fabric without layering vinyl.
But is it worth it?
In this post, I’m walking you through exactly how Cricut DTF transfers work, how to order them inside Design Space, and my honest thoughts after testing one. I’ll also show you a step-by-step guide for pressing the transfer so you can get the best results on your own projects.
If you’re curious about using DTF prints for custom t-shirts or other projects, this tutorial will help you decide whether this new feature is right for you.

What Is Cricut DTF?
The term Cricut DTF refers to Cricut’s new system for ordering Cricut DTF transfers directly from their platform. DTF stands for direct-to-film, a process where a design is printed onto a special film and then transferred to fabric using heat.
Unlike traditional Cricut projects, where you cut and layer vinyl, DTF printing produces a full-color transfer that presses in one step.
That means you can create:
- Full color graphics
- Highly detailed images
- Photo-style designs
- Quick custom t-shirts
Instead of cutting vinyl, you upload your design and order the printed transfer. The finished dtf prints arrive in the mail and are applied using a heat press.
This is a big shift for many crafters. Traditionally, a Cricut machine is used for cutting materials. With Cricut DTF transfers, Cricut is essentially printing the design for you.
Some crafters love this because it simplifies complex projects. Others feel it removes some of the crafting element. Personally, I’m slightly positive about it, but still a little skeptical.
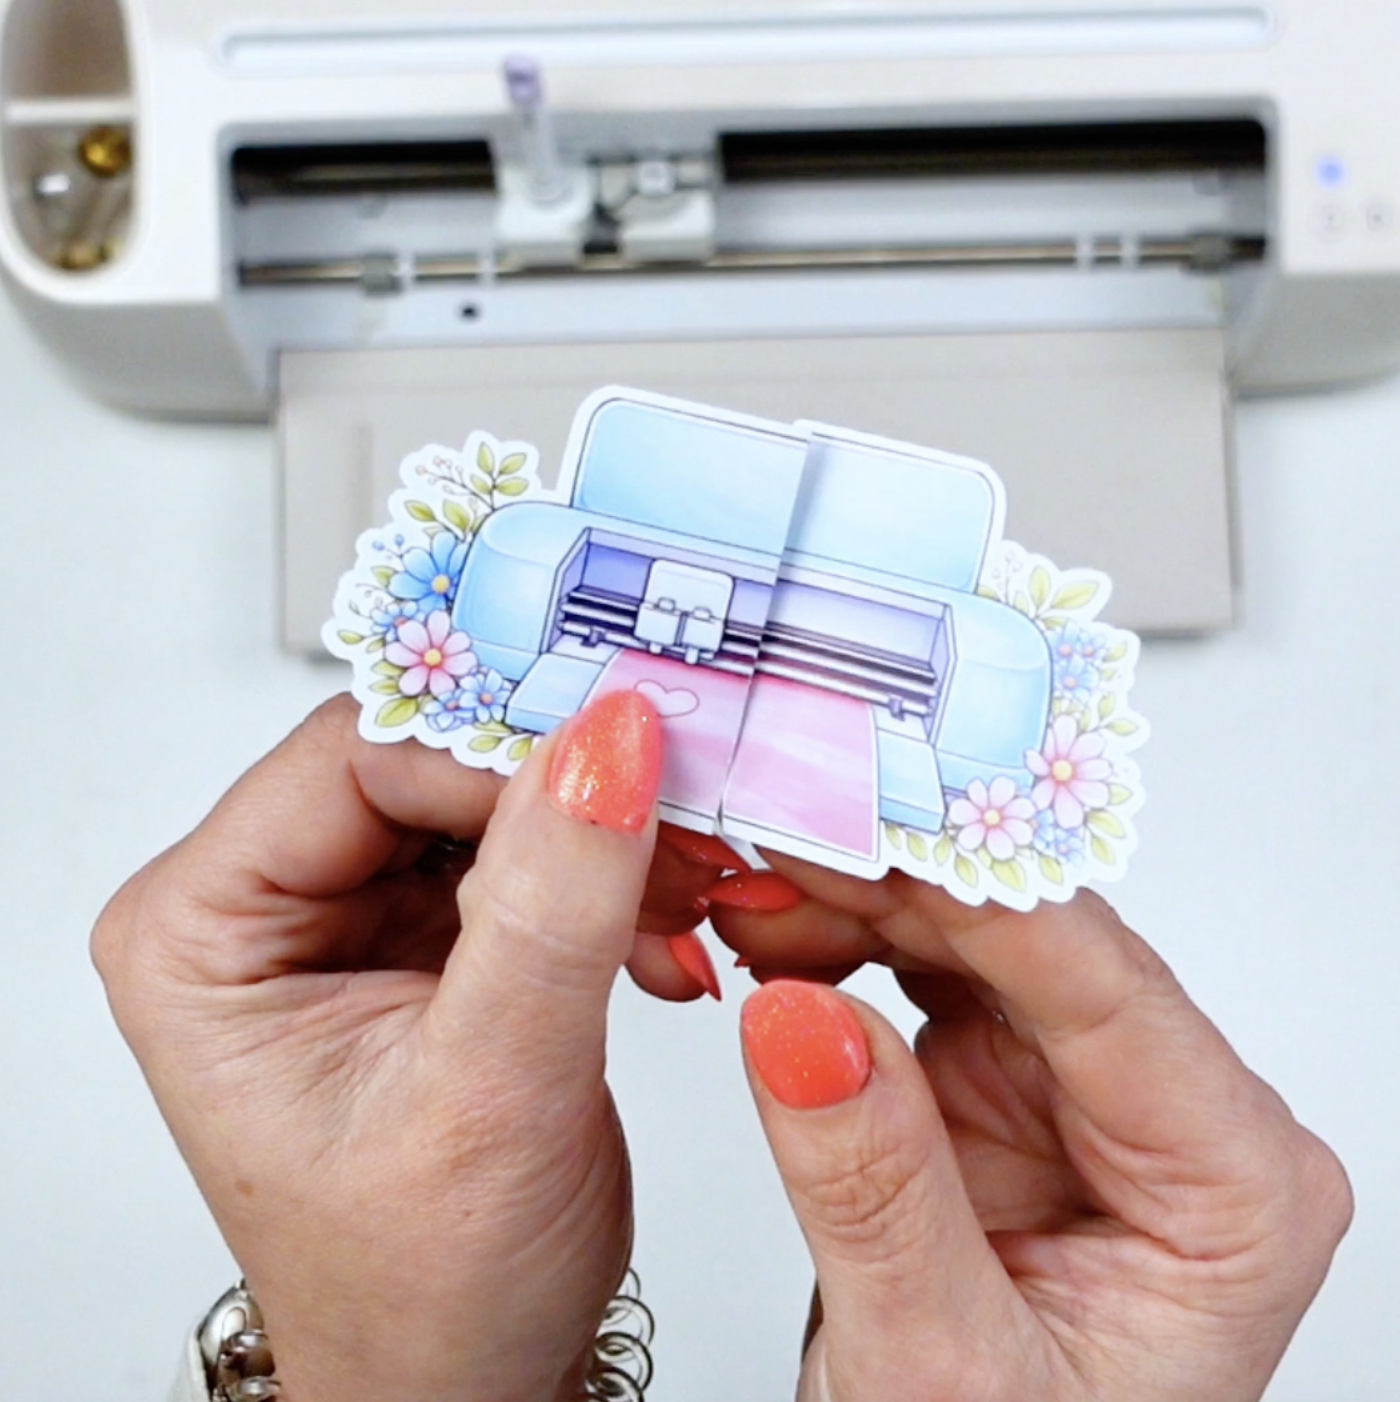
Ordering Cricut DTF Transfers in Design Space
Ordering Cricut DTF transfers happens directly inside Design Space, which makes the process fairly simple.
When you open the home screen, you’ll see a section for Cricut DTF transfers. Clicking it launches the ordering workflow.

You’ll start by selecting a preset size. Cricut currently offers several fixed sizes, including a small 4×4 transfer, which is the one I ordered for testing.
Once you choose a size, click the start button to begin designing.
From there you can:
- Upload your own artwork
- Create a design on the canvas
- Combine text and images
This step is especially useful for uploading & non-users who want to bring in artwork from other programs.

However, there is one important limitation to understand. Designs created inside Design Space generally stay there. Moving those designs elsewhere could violate Cricut’s terms of use.
So, if you design something you love, you may not be able to easily order the same artwork through other DTF printing services later.
That’s something to keep in mind before placing large DTF orders.
Cricut DTF Pricing Compared to Other Services
For my test, I ordered one small Cricut DTF transfer that was roughly four inches by four inches.

The price was $1.23, including tax, thanks to Cricut’s March 2026 promotion offering free shipping.
Normally, Cricut shipping often requires a purchase amount of around $50 for free delivery, although it’s unclear whether that policy will apply to Cricut DTF transfers long term.
For comparison, I uploaded the exact same design to another DTF printing supplier (Jiffy) and got this pricing:
- Cricut transfer: $1.23
- Jiffy: $0.94

That’s roughly 20% more expensive through Cricut.
The prices remain that way as sizes go up. The largest sized offered by Cricut is 11.4 x 11.4 and the cost is $9.10 but through Jiffy it is only $8.47.
If you’re ordering a large batch of DTF prints, those price differences could add up quickly.
How Fast Cricut Ships DTF Transfers
Cricut says most Cricut DTF transfers ship the same day or the next business days, though some orders may take two to three business days to process.
My order arrived in about three to four business days, which was pretty quick.
The package arrived in a rigid envelope with:
- The printed Cricut DTF transfer
- A protective sheet of parchment paper
- Instructions for Cricut heat presses
- An order summary
The transfer itself had a nice matte finish and felt similar to other DTF prints I’ve ordered from outside suppliers.
Step-by-Step Guide: How to Apply Cricut DTF Transfers
Now, let’s walk through the actual pressing process so you can get the best results with Cricut DTF transfers.

Step 1: Preheat Your Press
Use the Cricut heat guide to find recommended settings.
For cotton fabric, the guide suggests:
- 350°F
- Firm pressure
- Press time of 30 seconds
If you’re using a Cricut heat press, make sure it is fully heated before starting.
Step 2: Pre-Press the Fabric
Before placing the transfer, preheat your garment.
Press the fabric for 5 seconds to remove moisture and wrinkles. This helps the transfer adhere properly.
Step 3: Position the Transfer
Place the Cricut DTF transfer in the desired location on your garment with the printed side facing up.

Make sure the design is centered before pressing.
Step 4: Cover with Protective Sheet
Next, place the included parchment paper or a Teflon sheet on top of the transfer.
This protective sheet prevents direct contact between the press and the design.
Step 5: Press the Transfer
Close the press and apply consistent pressure for 30 seconds.
Avoid using too much heat, as overheating can affect the design quality.
Step 6: Let the Transfer Cool
After pressing, allow the transfer to cool before peeling.

Then slowly remove the liner to reveal your design.
Step 7: Post-Press (Optional)
Some crafters like to press the design again for 5-10 seconds with parchment paper on top to lock everything in place.
This can help improve durability and produce the best results. I did not do this step.
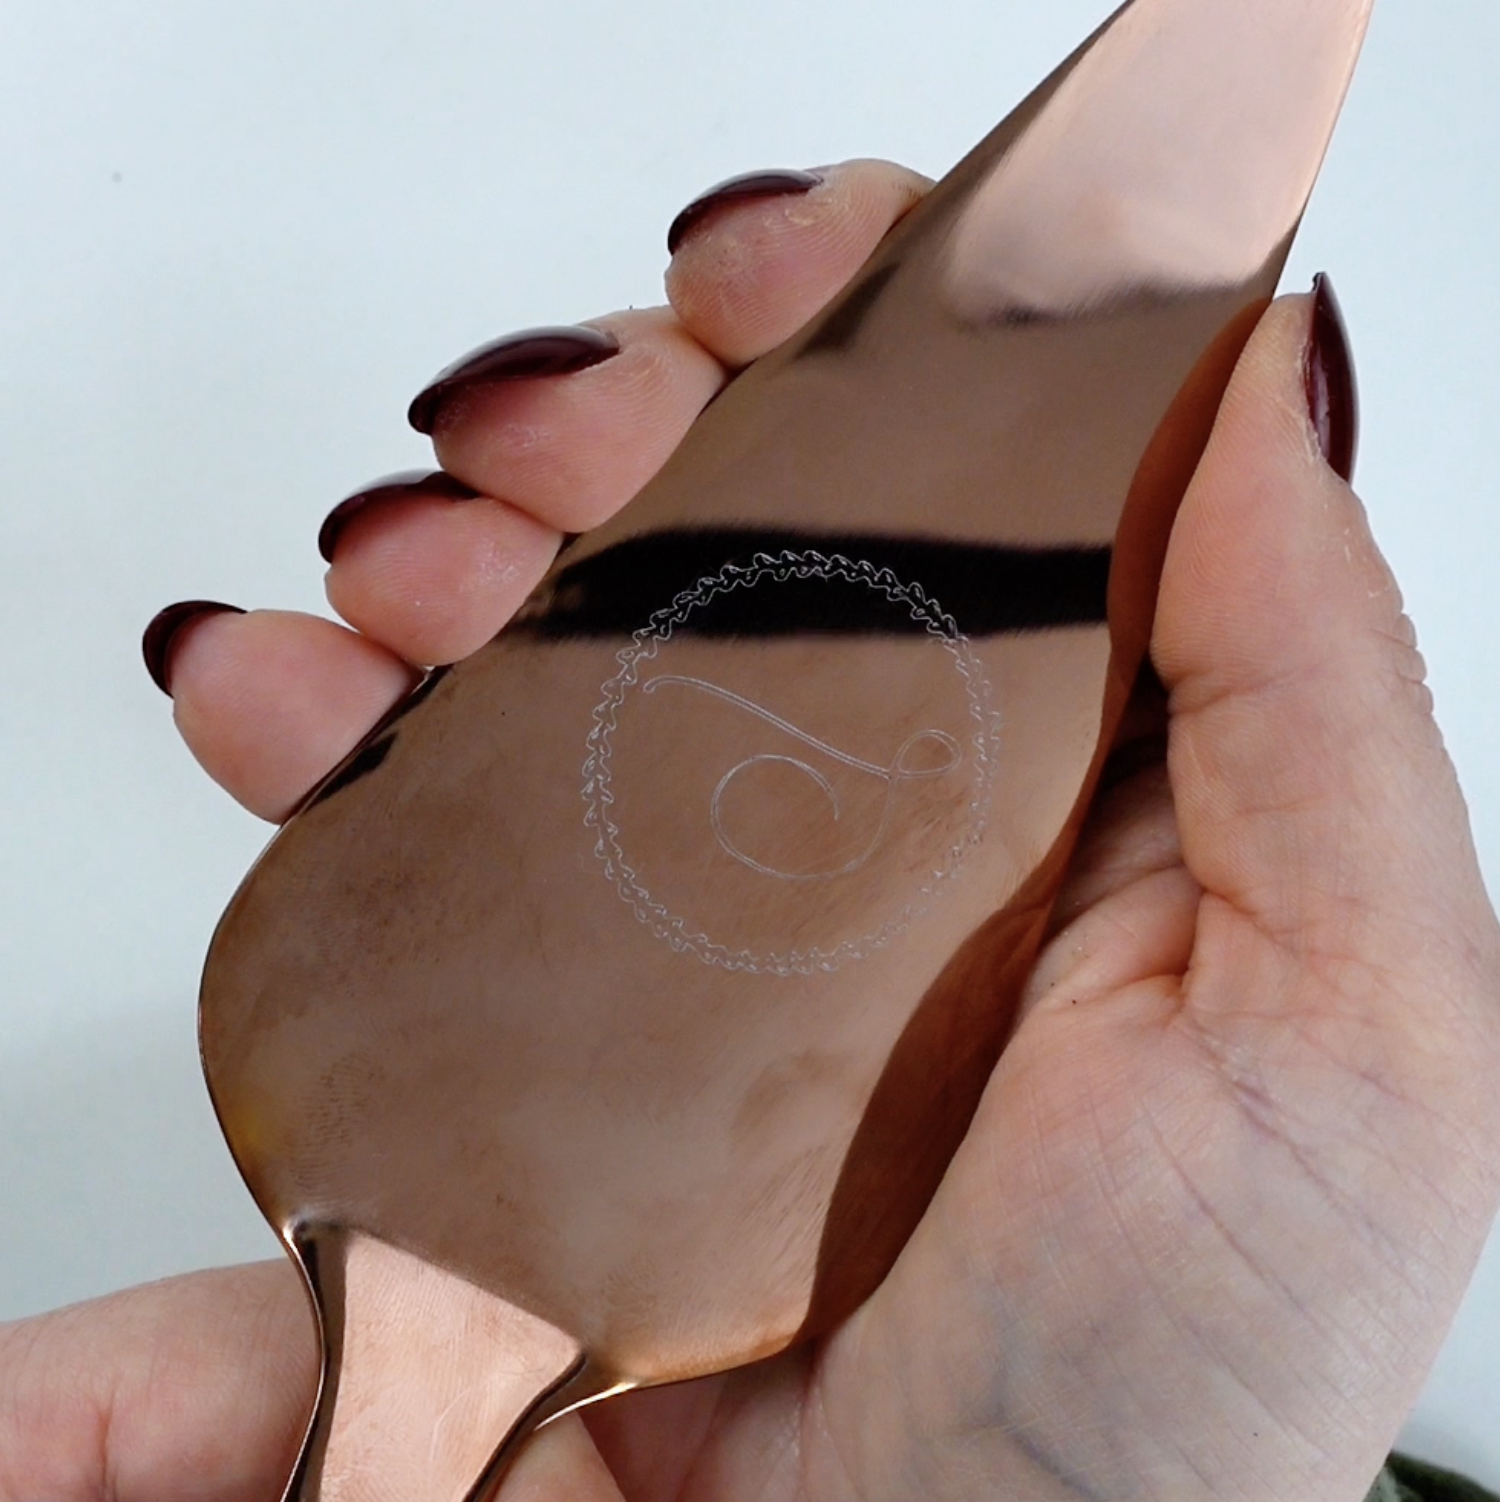
How Does the Finished Transfer Look?
After pressing my Cricut DTF transfer, I was pleasantly surprised.

The design had:
- Bright color
- Smooth edges
- A soft matte finish
- No peeling or lifting
It also didn’t feel bulky or stiff like some transfers can.
So from a quality perspective, I would say Cricut DTF transfers perform just as well as other DTF prints I’ve tried.
Washing Instructions
Cricut recommends waiting 24 hours before the first wash.
After that:
- Wash inside out
- Use cold water
- Tumble dry on low
Avoid bleach and excessive heat, which can damage transfers over time.
I haven’t done the first wash test yet, but I’ll update this tutorial once I see how the design holds up.
When Cricut DTF Makes Sense
There are definitely situations where Cricut DTF transfers are useful.
For example:
- Small runs of custom t-shirts
- Full color artwork
- Designs that would be difficult to layer in vinyl
- Quick projects with new products
If you want a detailed graphic without cutting multiple layers, Cricut DTF can save time.
My Honest Thoughts on Cricut DTF
After testing Cricut DTF transfers, here’s my honest take.
The quality is excellent, and the process is very beginner-friendly.
However, I still have a few concerns:
First, the price is higher than many DTF printing services. If you’re placing large DTF orders, the cost difference could be significant.
Second, designs created in Design Space may be difficult to move elsewhere, which limits flexibility.
Finally, I do think it changes the traditional crafting workflow. Many people buy a Cricut machine to cut and assemble projects themselves.
With Cricut DTF, you’re essentially designing and outsourcing the printing.
That’s not necessarily bad… it’s just a different approach.
Final Thoughts
Overall, Cricut DTF transfers are a solid new addition to Cricut’s lineup.
They’re easy to order, simple to apply with a Cricut heat press, and produce vibrant results with a professional matte finish.
But whether they’re the best choice really depends on your needs.
If Cricut keeps shipping affordable and competitive, I could see this becoming a popular option for small craft businesses and hobbyists alike.
For now, I’d say Cricut DTF is worth trying… but it may not replace other DTF printing options just yet.
Want More Cricut Tutorials?
If you enjoyed this review, make sure to join my email list!
You’ll get:
- Free SVG files
- Craft tutorials
- Honest product reviews
- Cricut tips for beginners
Plus, you’ll get instant access to my Community Vault filled with free craft downloads.
Stay crafty!