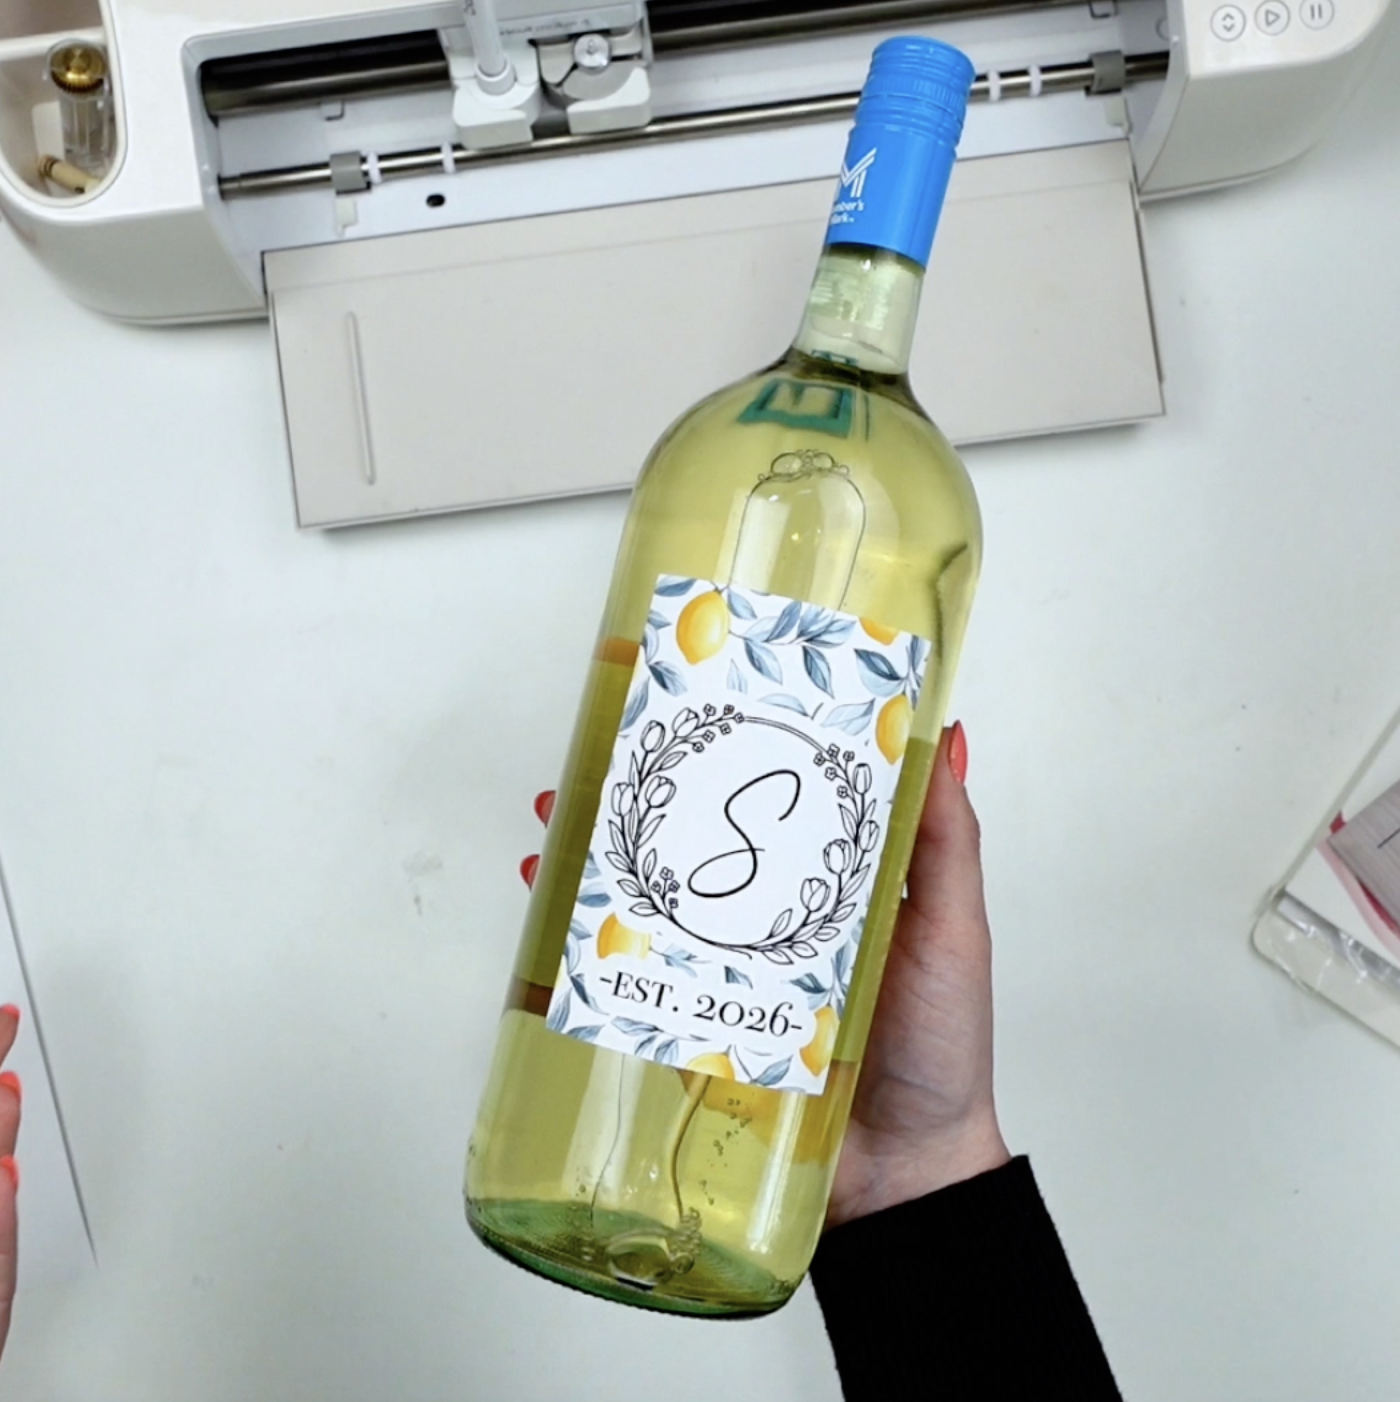
Cut Felt with Cricut: Make a Banner & Learn The Truth
Felt projects are some of my least favorite Cricut crafts (just being honest – I don’t love the feel of felt)… but when you want something soft, colorful, and a little bit handmade, it’s a great choice! In today’s tutorial, I’m going to show you how to cut felt with Cricut while making a puffy felt banner. I’ll also share the honest truth about which blades actually worked for me… and which ones didn’t.
If you’ve ever tried cutting felt on your Cricut and struggled, you are not alone. Felt can be tricky because the felt fibers shift, stretch, and grab the blade differently than materials like card stock. But with the right setup you can absolutely get perfect felt shapes and create beautiful projects.
Let’s walk through everything step-by-step so you can cut felt with Cricut successfully.

Materials Needed
Before starting this project, gather the following materials:
- Cricut Maker (preferred because it supports the rotary blade) or any Cricut machine such as the Cricut Explore can work, but you may have some limitations
- Rotary blade (my choice), fine point blade or deep point blade
- Felt sheets
- Pink mat or green mat
- Embroidery thread
- Needle
- Poly-fill stuffing
- Twine or string
- Hot glue gun
- Optional: painter’s tape
This blog may contain affiliate links. Please read my full disclosure policy.
The felt sheets I used are soft craft felt, which is similar to acrylic felt. Different brands behave very differently when using a cutting machine, so if your results look different from mine, it may come down to the different types of felt.
The Truth About Trying to Cut Felt with Cricut
Before we jump into the project, let’s talk about something important.
I originally assumed I could cut felt with Cricut using the fine point blade, since that’s often the recommended setting in the Design Space app.
It did not go well.
I tried multiple attempts using the default settings, increasing pressure, and even doing a second pass. The fine point blade struggled to get through the felt sheet, leaving fuzzy edges and partially cut pieces that had to be trimmed by hand.
Then I switched to a deep cut blade, hoping the sharper angle would handle the thicker felt.
That also struggled.
The problem isn’t always the blade, sometimes it’s the way felt fibers compress and shift on the cutting mat.
Finally I switched to the rotary blade on my Cricut Maker, and the difference was immediate.
The rotary blade produced a much cleaner cut with smoother edges and far fewer fuzzy spots. For this reason, if you plan to cut felt with Cricut, I strongly recommend using a Cricut Maker with the rotary blade whenever possible.
Understanding the Different Types of Felt
Not all felt behaves the same inside cut machines.
Here are the three most common types you’ll see.
Acrylic Felt
This is the most common craft store felt and is usually sold as inexpensive felt sheets. Acrylic felt works fine for large shapes, but intricate cuts may struggle because the fibers pull apart easily.
Wool Blend Felt
Wool blend felt is denser and stronger than acrylic. Because the fibers are packed tighter, it tends to give the best results when you cut felt with Cricut.
Thick Felt
Very thick felt or heavy fabric felt can be difficult even with a deep cut blade. For these materials, using a fabric mat and rotary blade is usually the best approach.
Step 1: Prepare Your Banner in Design Space
The first thing I did was open the Design Space app and set up my banner layout.

I created a simple guide line that measured about 36 inches so I could visualize the full banner length.
Next I uploaded my SVG file that includes the bunny and flower shapes (grab for free below). After uploading the file, I ungrouped the pattern pieces so I could arrange them individually.
The banner layout looks like this:
Bunny – Flower – WORDS – Flower – Bunny
Because this project creates puffy shapes, each piece needs a front and back. That means duplicating all the pattern pieces so you have two layers for every letter and decoration.
If your felt has a sticky side or directional pattern, you may also want to mirror the back layers.
Step 2: Choose the Correct Felt Setting
Next click Make It and head into the material settings.
Search for felt setting and choose the standard felt option.
For my project I kept the default settings, but remember that different felt sheet brands may require adjustments.
You’ll also want to double check your blade selection:
- Rotary blade (best option for felt)
- Fine point blade (may work on some materials)
- Deep cut blade (sometimes works on thicker felt)
If you are using a Cricut Explore, you won’t have access to the rotary blade, which means intricate designs may be harder to achieve.
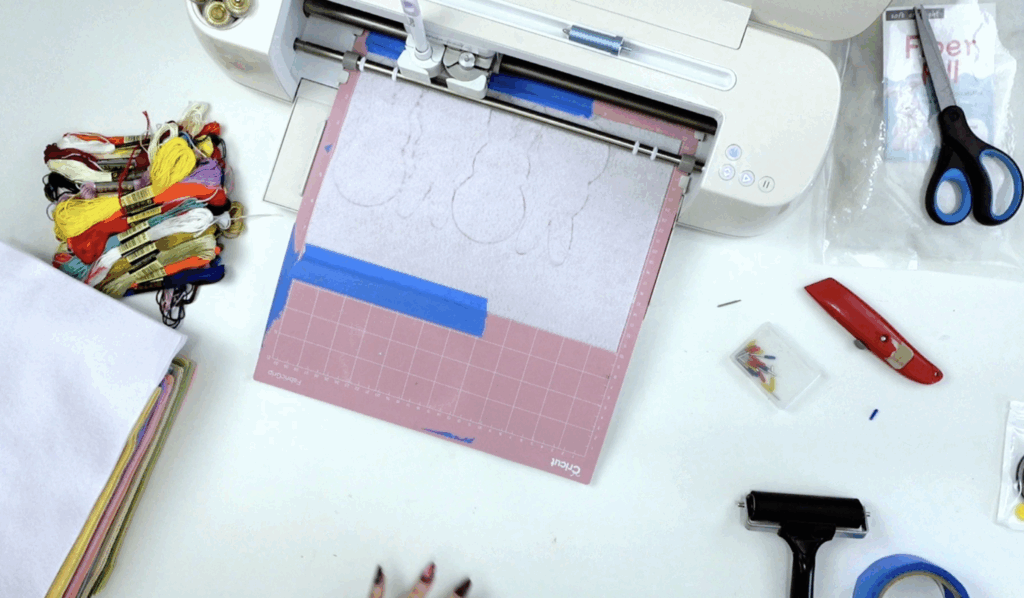
Step 3: Place Felt on Your Cricut Mat
Now it’s time to load your mat.

Place the felt on your Cricut mat, pressing it down firmly onto the sticky mat. I used my brayer. I used a pink mat, but a green mat or standard grip mat can also work.
If your older mat has lost some stickiness, try one of these tricks:
- Add contact paper on top
- Use painter’s tape around the edges
- Press the felt down using a brayer
For small projects or small pieces, sometimes a new mat gives much better results.
Before loading the mat, run a lint roller across the felt to remove loose felt fibers.
Step 4: Cut the Felt Pieces
Now you’re ready to cut felt with Cricut.
Load the cutting mat into your Cricut Maker and start the cutting process.
When I first tested this project using the fine point blade, the shapes were not fully cut, even after multiple passes.
The deep cut blade did slightly better but still left fuzzy edges.
Switching to the rotary blade completely changed the result. The shapes came off the Cricut mat easily and had much smoother edges.
If your shapes aren’t fully cut, try running a second pass before unloading the mat.
You can also carefully finish any spots with scissors if needed.
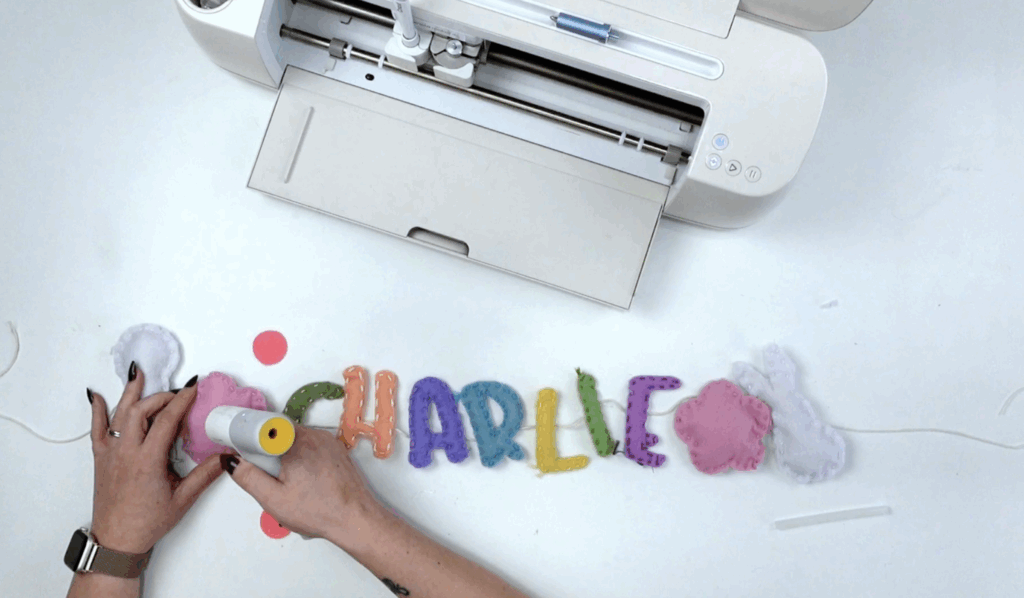
Step 5: Sew the Puffy Letters
Once all your cut pieces are ready, it’s time to assemble the banner.

This project uses two felt pieces for each shape so they can be stuffed like little pillows.
Start sewing around the edges of each letter using embroidery thread. The sewing doesn’t have to be perfect… in fact, the slightly rough stitching adds to the handmade look.

Before closing the final edge, add a small amount of stuffing inside.
Continue sewing until the pieces are sealed.
Repeat this process for all the letters in your words, as well as the bunny and flower decorations.
Step 6: Assemble the Banner
Lay out your twine across a flat surface.
Flip each felt letter over and attach the twine using a small amount of hot glue. Make sure your word is backwards if flipping over at the end.
The layout should look like this:
Bunny – Flower – WORDS – Flower – Bunny
Press each felt piece into the glue and allow it to cool.
Then flip the banner over and add the flower centers on top.
Now your felt banner is finished!
Tips for Cricut Users Cutting Felt
If you want the best results when you cut felt with Cricut, here are a few tips:
- Use the rotary blade whenever possible
- Choose simple shapes instead of extremely intricate designs
- Use a fresh cutting mat for better grip
- Clean your blade often to remove felt fibers
- Use contact paper to stabilize thinner felt
Many Cricut users find that the rotary blade works best because it rolls across the material rather than dragging through it.
Free Bunny & Flower SVG Files
This free Easter set is inside my Community Vault.
These designs are #218.
You’ll receive:
- 1 bunny silhouette SVG
- 1 flower SVG
(All in one zip file, ready for uploading & resizing.)
To access the free cut files:
- Enter your email address below.
- Wait for the Welcome Letter to arrive with the password then enter the Community Vault. Make sure to check spam and promotions.
- Download the zip folder and unzip.
- Upload the SVG into Cricut Design Space.
These free Spring SVG files are for personal use. I do include a small business commercial use license for handmade physical products.
Learn how to download files here.
Do not share the zip folder directly. Always send friends to the original post so they can grab their own free files.
Final Thoughts
After a lot of experimenting, I can confidently say that the rotary blade on the Cricut Maker is the most reliable way to cut felt with Cricut.
The fine point blade and deep cut blade may work depending on the different types of felt, but the rotary blade consistently produced the cleanest shapes for this project.
Even though felt can be a challenging material, it’s still a popular material for banners, ornaments, toys, and other fun Cricut crafts.
And once you see your finished banner hanging on the wall, it’s absolutely worth the extra effort.
Stay crafty!