Clawlab Tufting Gun Review: Unboxing, Setup, & First Project
If you’ve been seeing tufted rugs all over social media and wondering how people are making them, you’re not alone. Tufting has quickly become one of the most exciting textile crafts for makers, and after testing a full kit, I’m finally sharing my honest clawlab tufting gun review.
In this post I’m going to walk you through the full beginner overview of the Clawlab Tufting Kit H1. We’ll cover the unboxing, frame setup, threading the gun, and my first rug attempt so you can see exactly what the process looks like for a first-time tufting project.
If you’ve been thinking about trying this new hobby, I’ll also share some beginner tips, common mistakes, and my final thoughts on whether the Clawlab kit is actually a great value for someone just getting started.
For reference, this post is sponsored and Clawlab sent me the kit to test, but all opinions in this Clawlab tufting gun review are my own after setting it up and completing my first project.

What Comes in the Clawlab Tufting Kit H1
Before we start making a tufted rug, let’s take a look at what’s actually inside the kit.
*This blog may contain affiliate links which means I earn a small comission at no extra charge to you, read my full disclosure here.*
The Clawlab tufting kit is designed as a complete beginner bundle, meaning you get almost everything needed to make your own rug right out of the box.
Inside the kit you’ll find:
- The Clawlab tufting gun
- Aluminum frame
- Primary tufting cloth
- Backing cloth
- Yarn in ten colors
- TPU hot melt adhesive powder
- Yarn threading wires
- Cleaning tools
Seperately, they also sent me the Heat Press which vibrates to distribute the TPU glue powder.
The frame included with the Clawlab tufting kit measures 39″x25″, which is actually a really nice size because it gives you room for larger projects while still fitting on a standard table. The aluminum frame attaches directly to your work surface with clamps and has rollers that help keep your stretched fabric tight during tufting.
If you want to check out the exact kit I used, you can find it on the official website, and they gave me a code DINOMAMA if you want a 10% discount.
Sign up below for my weekly newsletters and password to the community vault of free SVG files and projects!
Setting Up the Frame
It comes in several pieces, but the assembly process is actually very manageable. The frame uses a few screws and brackets to connect the horizontal bars and create the full mounting structure.
Once everything is assembled, the frame clamps onto your table. Tightening the knobs locks it into place so the frame doesn’t shift during tufting.
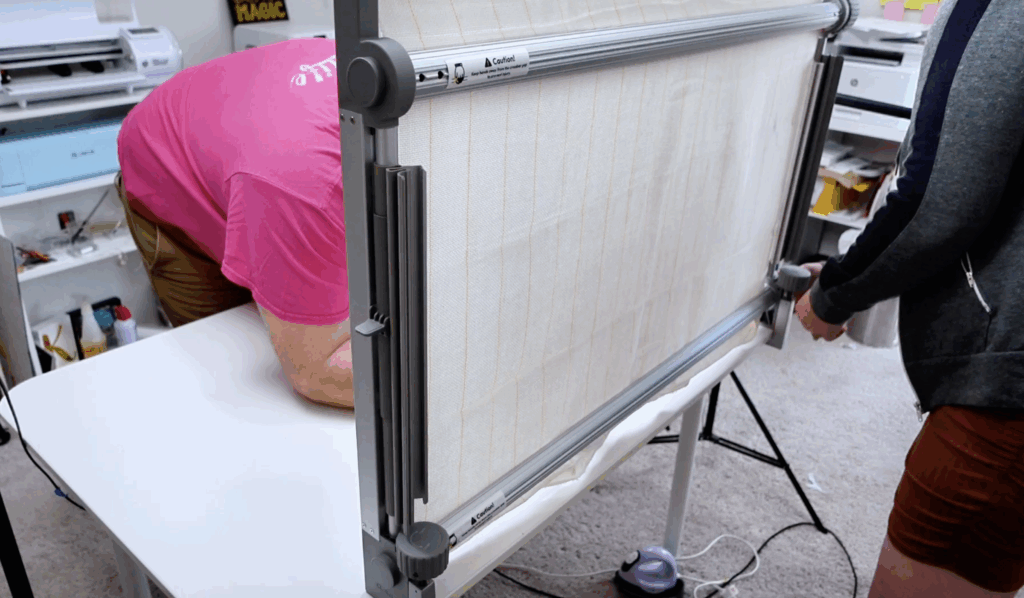
Next comes attaching the primary tufting cloth.
You feed the fabric through the top and bottom rollers and pull it tight so the cloth stays evenly stretched across the frame. This step matters because loose cloth can create small holes in the fabric while tufting.
The best way to test tension is to tap the fabric. If it feels firm like a drum, your stretched fabric is ready for normal operation.
This part took me a little experimenting the first time, but once you figure it out the process becomes pretty quick.
Understanding the Clawlab Tufting Gun
Now let’s talk about the star of the show: the Clawlab Tufting Gun.
The gun itself is designed as a cut pile tufting machine. That means as the needle punches yarn through the cloth, it automatically cuts the loops to create the soft pile texture you see on finished rugs.
The gun plugs into a standard outlet, so you’ll need a nearby power connection while working.
Once plugged in, the back of the gun lights up with an indicator light ring, which helps show when the tool is powered on. The ring also includes an illuminated backlight, which makes it easier to see your working area when tufting.
There’s also a mode button and dial that controls tufting speed. This lets you switch between a slower speed for learning and faster speeds once you get comfortable.
For beginners, I definitely recommend starting slow. The tufting gun feel can be intimidating at first because it’s a heavy machine, but once you get used to the movement it becomes much easier.
The gun also includes adjustable settings for yarn size. A small screw near the front adjusts the yarn channel so you can work with thicker or thinner yarn.
This flexibility makes the Clawlab tufting gun suitable for both beginners and experienced rug artists.
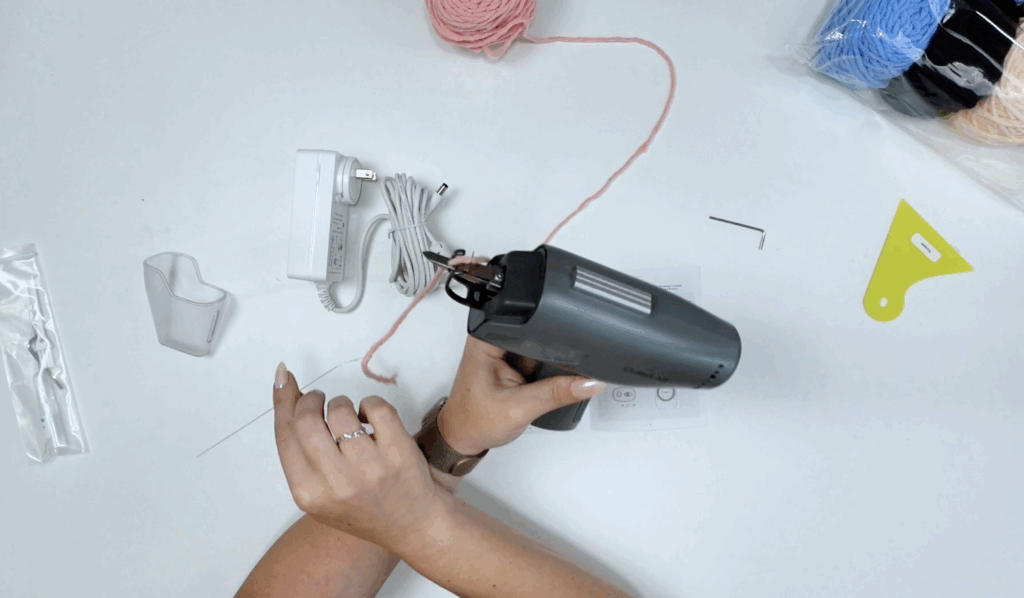
Threading the Tufting Gun
Before starting my first rug, I had to thread the yarn through the gun.
Clawlab includes a set of wire threaders that help guide yarn through the tool. You insert the threader through two openings in the gun, hook the yarn, and pull it through.
Once the yarn feeds through the needle, it’s ready for tufting.
One tip I learned quickly: keep your yarn loose.
If the yarn gets tight while feeding, the gun can punch small holes or cause the yarn to slip out. Keeping the yarn loose helps maintain smooth tufting speed and better stitch consistency.
My First Rug Project
For my first project, I kept things simple.
Instead of jumping into a complicated, detailed design, I drew a basic shape directly onto the cloth with a washable marker.
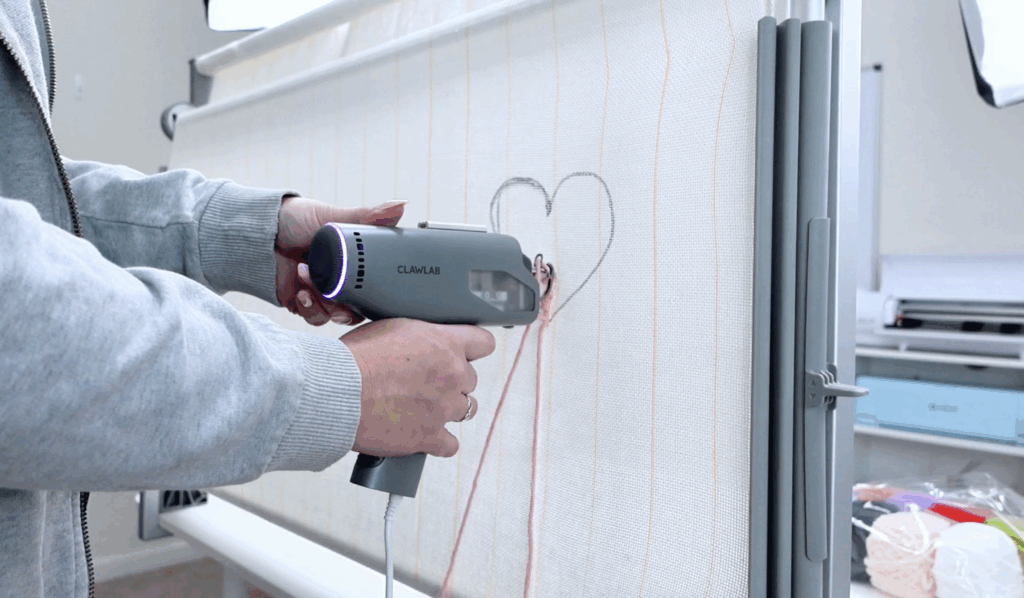
Starting simple is the easiest way to learn because the learning curve with tufting tools can take a little practice.
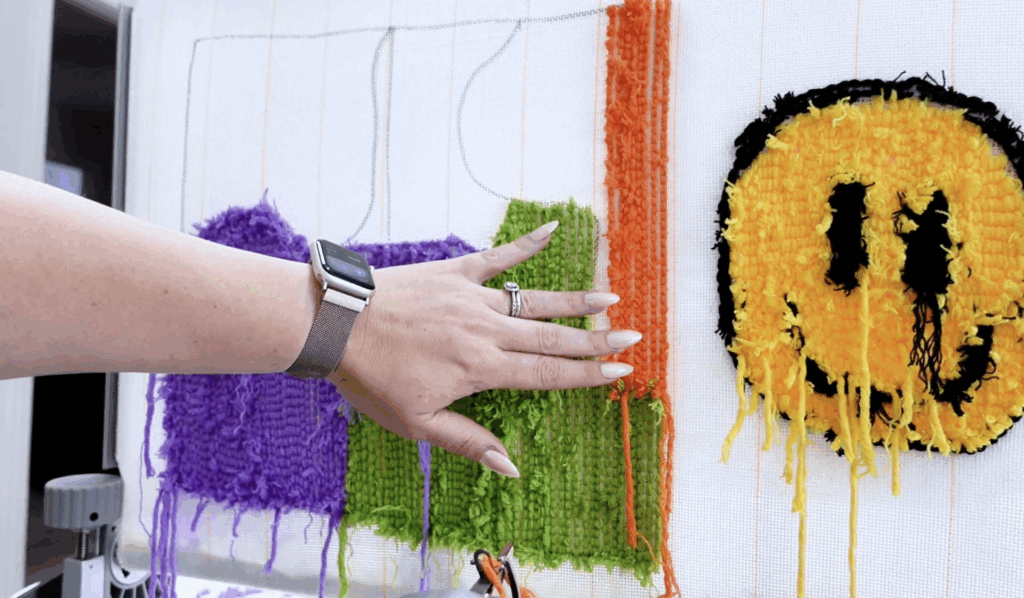
When you start tufting, you hold the gun at about a 90 degree angle to the cloth. Then you slowly move upward while the gun punches yarn into the fabric.
The tool feeds yarn automatically and cuts it to create the rug’s pile.
Watching the yarn appear on the opposite side of the cloth is honestly one of the coolest parts of this new hobby.
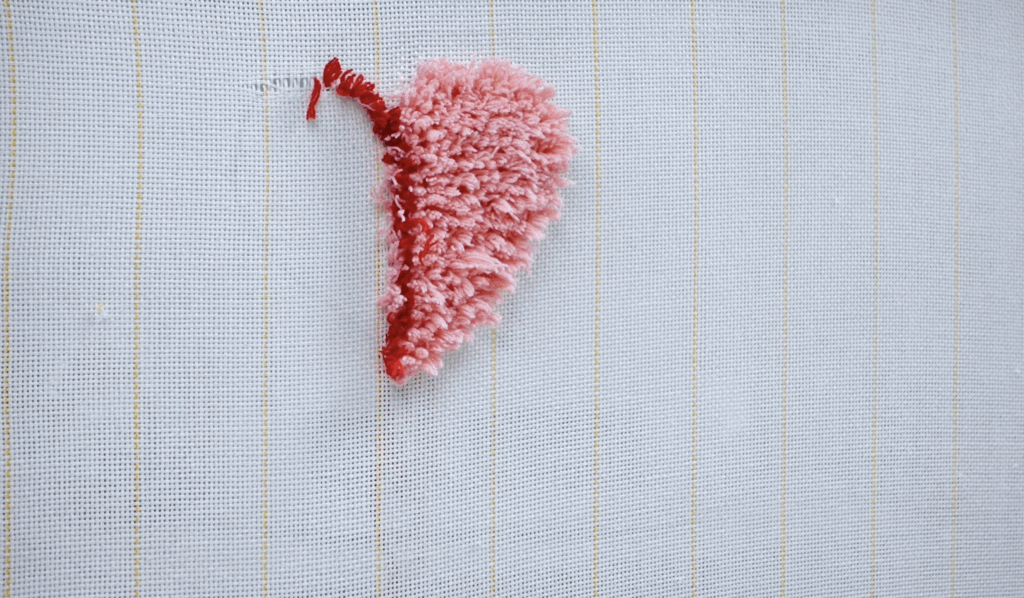
Within the first hour of work, I had already created the base of my first rug.
It wasn’t perfect, but seeing the yarn form into soft texture on the front of the cloth was really exciting.
Tips I Learned During My First Time Tufting
After working on a few practice designs, I started learning how the gun behaves.
Here are a few important tips from my experience during this Clawlab tufting gun review.
Go Slow at First
Using a slower speed helps you control the gun while learning. Once you get comfortable with the movement, increasing the tufting speed becomes easier.
Avoid Overlapping Stitches
One common mistake beginners make is going back over the same lines. Overlapping can create uneven texture or weaken the cloth.
Curves Take Practice
The gun works best on straight lines, but you can create tight curves by moving slowly and adjusting your angle.
Keep Yarn Loose
Tight yarn can create tension that leads to small holes in your cloth.
Don’t Press Too Hard
Too much pressure is a bad idea and can damage the fabric.
Applying the Backing
Once the tufted rug design was finished, it was time to secure everything with backing.
Clawlab includes TPU hot melt adhesive powder that bonds the yarn to the backing cloth.
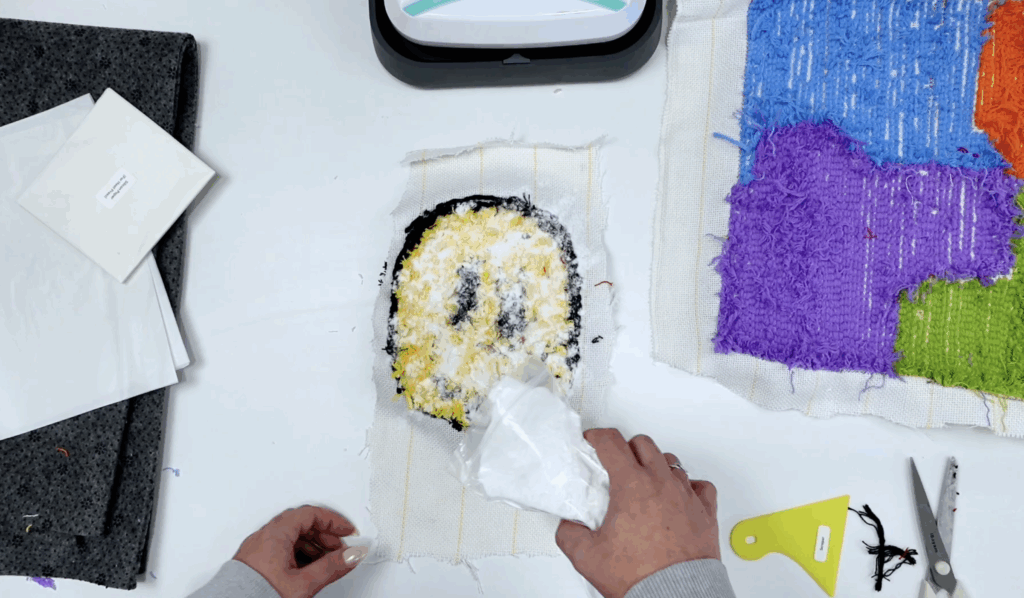
The process works like this:
- Sprinkle glue powder evenly over the back.
- Place backing fabric over the design.
- Cover with parchment.
- Apply heat using the included heat press.
The heat activates the glue and bonds the yarn into place.
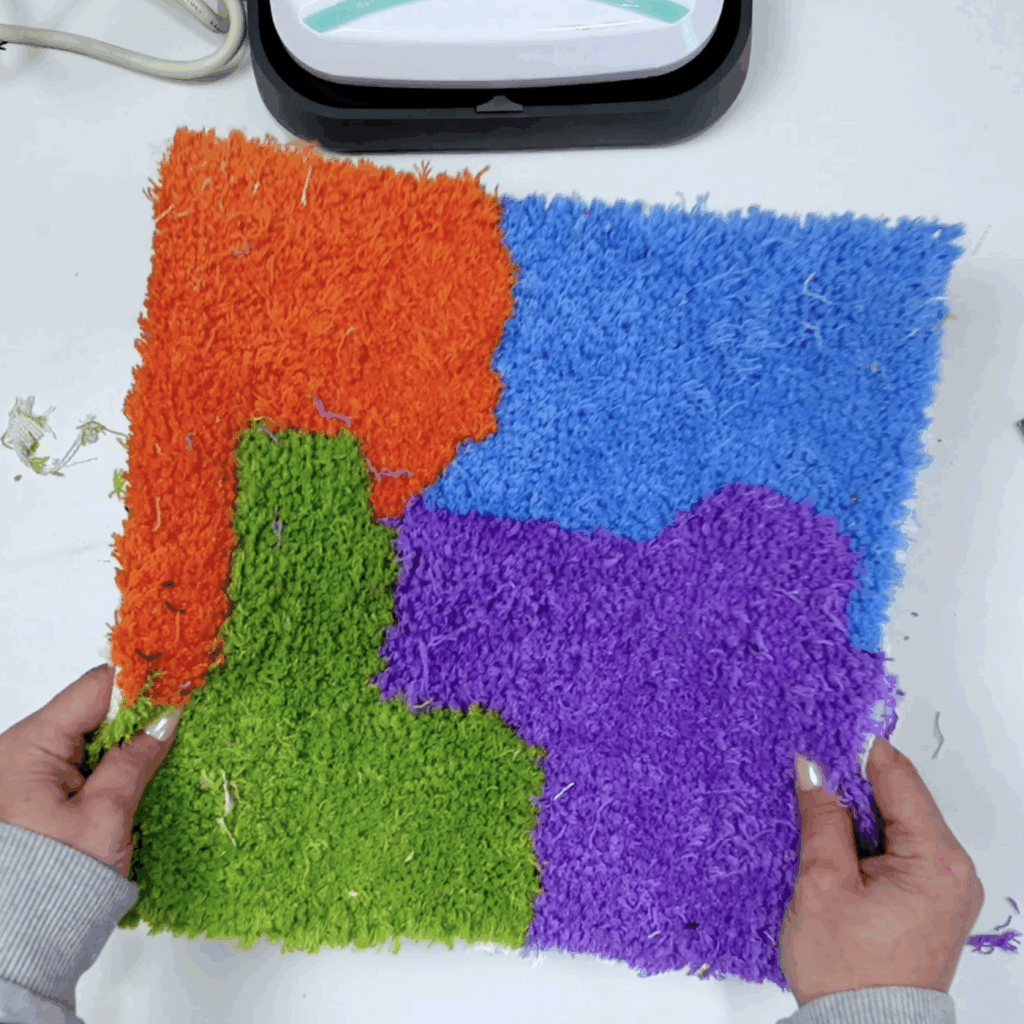
After heating the backing, the rug becomes much more durable and ready for trimming.
Trimming and Finishing the Rug
After the backing cooled, I used a small pair of scissors to clean up the edges and trim the pile height.
Some professional rug artists use electric trimmers, but scissors work perfectly fine for beginners.

This step helps refine shapes and makes the design look cleaner.
At this point, you can also cut the cloth around the rug and shape it into wall art, wall hangings, or functional rugs.
Pros and Cons of the Clawlab Tufting Kit
Here are my honest thoughts after completing my first rug.
Pros
✔ Beginner friendly full beginner overview kit
✔ 39″x25″ frame for nice sized projects
✔ Adjustable tufting speed
✔ Good starter yarn selection
✔ Easy frame setup
✔ Works for bold designs and solid areas
Cons
✖ Learning curve with threading
✖ Produces yarn dust while working
✖ Requires practice for detailed patterns
Overall though, the kit delivers a lot for the price.
Clawlab vs Punch Needle
If you’ve tried a punch needle before, tufting feels like a powered version of that process.
Punch needle tools are a manual tool, while the Clawlab tufting gun automates the motion.
That means tufting is usually the best way to create larger rugs much faster.
Punch needle still works great for detailed patterns, but tufting is the most popular choice for making bigger rugs.
Final Thoughts
So after testing everything from setup to finishing, here are my final thoughts for this Clawlab tufting gun review.
The Clawlab tufting kit is genuinely beginner-friendly. The included frame, yarn, tools, and tufting tool make it easy to start making your own rug without needing to buy additional supplies.
The learning curve is real, but that’s true with any new hobby. After a little practice, the process becomes really fun and surprisingly relaxing.
If you enjoy textile crafts, making wall art, or experimenting with creative projects, tufting is a great skill to learn.
And if you want to try it yourself, you can grab the Clawlab tufting kit from the official website and use code DINOMAMA for a 10% discount.
Overall, after completing my first project, I can confidently say this kit is a great value for beginners who want to explore the world of tufted rugs.