DIY Back to School Photo Props with Free Cricut SVGs
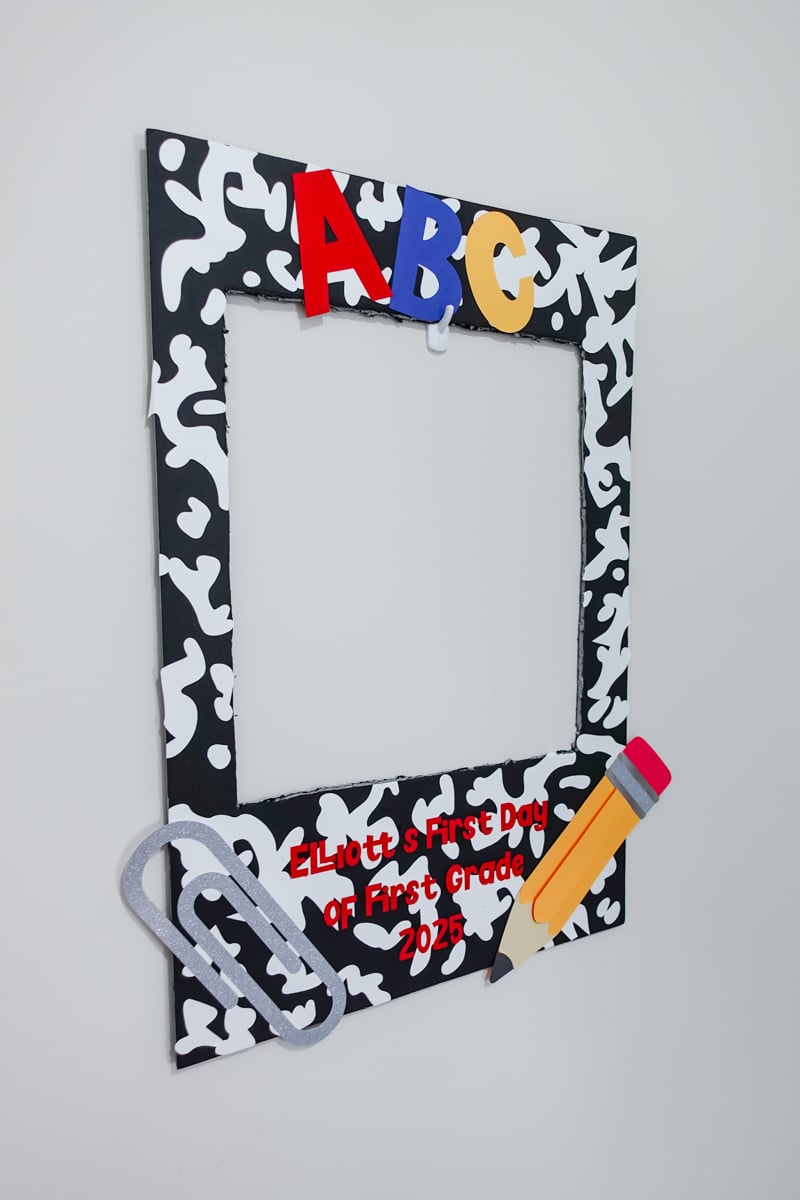
Looking for a creative way to celebrate the first day of school? These DIY Back to School Photo Props and Photo Booth Frame are the perfect solution! With a free set of SVG files and step-by-step instructions, you can craft a custom photo frame that turns your school photos into keepsakes. Whether you’re using a Cricut Maker, Explore, or Joy, this project is beginner-friendly, budget-friendly, and absolutely adorable.

This project includes fun designs like a pencil, paperclip, ABCs, and a layered composition book pattern. The final frame size depends on your poster board, but the SVGs are easily adjustable to fit your needs. Everything you need, including tools, materials, and downloads, is linked below.
Materials You’ll Need
*This blog contains affiliate links, please read my privacy policy here.
- Cricut machine (Maker, Explore, or Joy)
- StandardGrip or LightGrip mat
- Cardstock in various colors – I used 65 lb and 85 lb
- Poster board (any color you prefer) – I went with the foam board in black from my local Dollar Tree
- Craft glue or glue stick
- Scissors or precision craft knife (like an X-ACTO)
- Brayer tool (optional, but helpful)
Step-by-Step: DIY Back to School Photo Props
Follow this easy guide to assemble your first day of school photo frame with your Cricut machine.
Step 1: Create the Poster Template in Design Space

- Open Cricut Design Space and insert two squares.
- Resize the base square to match your poster board (ex: 20″ x 29.75″).
- Add a second square to represent the photo cutout. Size it about 15.5″ x 17″.
- Center it horizontally and place it slightly higher, like a Polaroid frame.
- Use “Combine” → “Subtract” to cut out the center.
- Change the cut to a “Guide” or leave it as a basic cut for visualization.
Step 2: Upload the Free SVG Files
Upload the four included SVG elements:
- Composition book pattern
- Pencil
- Paperclip
- ABCs

Place and resize each element however you’d like on your frame.
Step 3: Arrange the Composition Book Background
- Ungroup the SVG pattern.
- Duplicate larger shapes and scatter them across the board.
- Focus on covering all areas—don’t slice or overthink placement.
- Leave some extra pieces to trim and fill any gaps later.
Beginner tip: You’ll hand-cut any overlap with Scissors or an X-ACTO knife, so you don’t need perfect alignment.
Step 4: Customize Your Props
- Resize the paperclip, pencil, and ABCs to your liking.
- Optional: personalize with your child’s name, grade, or year.
- Use a bold font like Blockland (from Creative Fabrica).
Step 5: Cut and Assemble

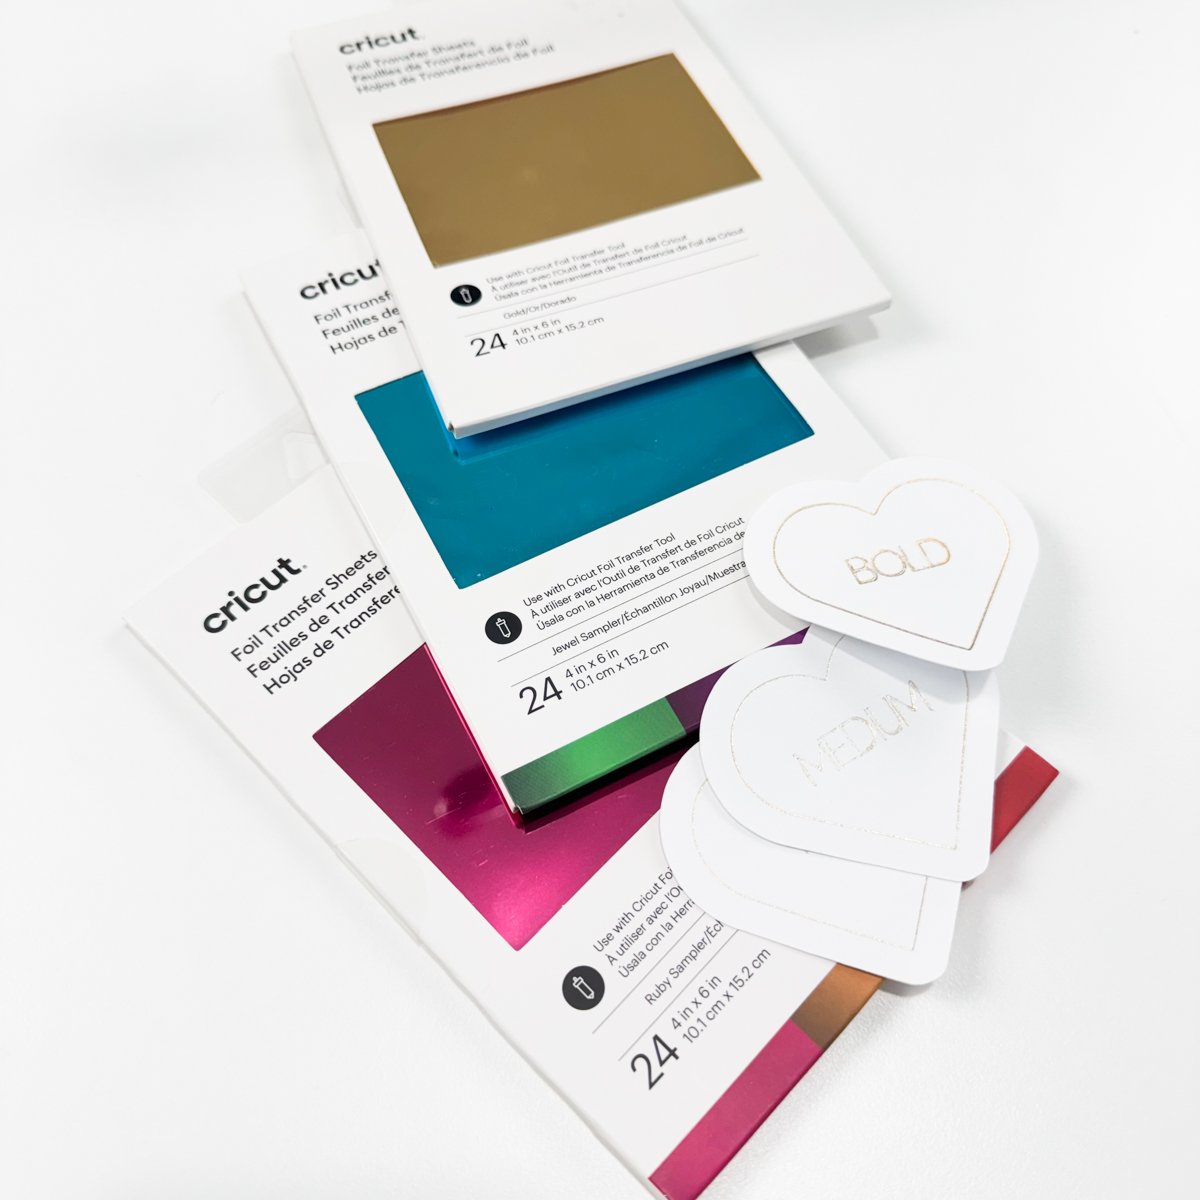
- Cut each piece on your Cricut machine.
- Use Medium Cardstock setting.
- Make sure designs fit on 8.5″ x 11″ or 12″ x 12″ paper, depending on your mat.
- Hand-cut the photo window out of the poster board using your template.
- Glue on the composition book pieces first, trimming any excess.
- Assemble the pencil from tip to eraser (use foam tape for depth).
- Glue down ABCs, name, and any other extras.


Pro tip: Use the paper you cut the name out of as a stencil to perfectly align your letters.

Optional Personalization Ideas

One of my favorite parts of this project is how customizable it is! You can:
- Add your child’s name
- Include the school year (ex: “First Day of Kindergarten 2025”)
- Create one for each child in different colors
- Use vinyl instead of cardstock
- Add teacher names or school mascots

Tips for Using a Cricut Machine
If you’re new to crafting, here are a few beginner-friendly tips to make this project stress-free:
- Use LightGrip mats for thinner paper like 65 lb cardstock to avoid tearing.
- Double-check your cut settings. Medium Cardstock works well for most of the elements.
- Always test cut one small piece before cutting all your props.
- Brayer tools help smooth out paper and prevent shifting during cutting.
Make Back-to-School Memories Extra Special
You can find this SVG in a zip file under Design Number #200 in my Community Vault. To gain access, simply sign up for my free newsletter below, you’ll receive the welcome email and password within 5–10 minutes. Search instructions and download tips are included inside the vault.
This layered ghost file is ready to cut with Cricut or Silhouette and includes commercial use rights for small businesses!