How to Layer Vinyl Cricut Beginner Tutorial for 2026
If you’re brand new to layered vinyl projects or you’ve tried once and thought, nope, never again, this tutorial is for you. In this guide, I’m walking you through how to layer vinyl Cricut step by step using my favorite tried-and-true technique. There’s no water, no parchment paper method stress, and no fancy tricks that make your hands feel like they suddenly forgot how to work. Just a solid, beginner-friendly approach that works.

This tutorial is designed for your first time layering vinyl decals (using one of my free designs), clear alignment, and simple registration marks so you can get perfect results without frustration.
What Is Layered Vinyl and Why Use It?
Layered vinyl is exactly what it sounds like: using layers of vinyl stacked on top of each other to create multi-color designs. Instead of a single-layer decal, you’re combining a bottom layer, a second layer, and each subsequent layer until the final design is complete.
Learning how to layer vinyl opens the door to:
- Vinyl decal designs with depth and detail
- More creative vinyl designs for cups, signs, and gifts
- A fun way to level up your craft project
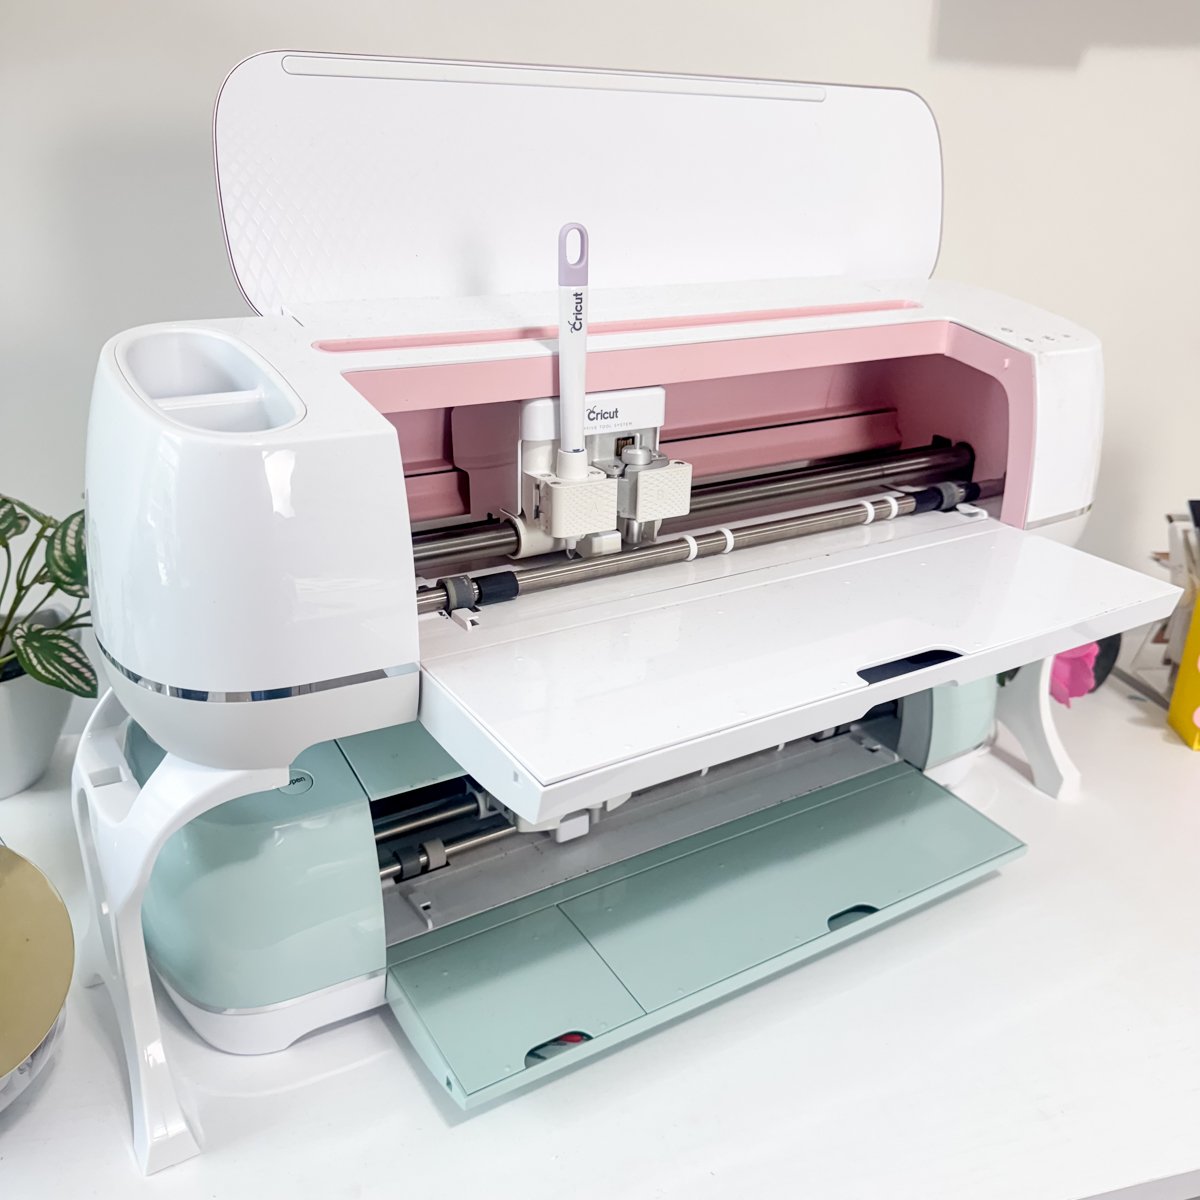
What You’ll Need for This Layered Vinyl Tutorial
Before opening the Cricut Design Space app, gather these supplies so the process feels smooth and beginner-friendly. Having everything ready makes layering vinyl far less overwhelming… especially your first time.
This post contains affiliate links, read my full disclosure here.
Supplies:
- Cricut machine (Cricut Maker, Cricut Joy, or other models)
- Adhesive craft vinyl (permanent vinyl or premium vinyl works best)
- Standard grip cutting mats
- Transfer tape (standard grip is ideal for layered vinyl projects)
- Vinyl weeding tools (a pen style weeding tool is my go-to)
- Scraper or squeegee tool
These are the core tools you’ll use repeatedly for Cricut projects involving layers of vinyl.
Step 1: Upload Your SVG File in Cricut Design Space
Open the Cricut Design Space app and upload your SVG file, not a PNG. SVG files keep each part separated, which is essential for working with different layers.
Resize your entire design first. This keeps your entire design proportional before cutting.
If your design includes multiple pieces of the same color, combine them now with attach or unite. This simplifies cutting and reduces extra vinyl pieces later.
This step is critical when learning How to Layer Vinyl Cricut, especially if this is your first time working with vinyl designs that have multiple colors.
Step 2: Add Registration Marks for Perfect Alignment
This is the secret sauce.

Add a small shape (like a diamond, star, or heart) from the shapes menu. Avoid circles, since they’re easier to misalign. Place the shape near the top of your design.
Duplicate this shape so there’s one registration mark per layer. Each vinyl piece should have its own registration mark attached.
Attach the registration mark to each individual layer using the attach function. These registration marks become your reference point when stacking layers of vinyl.

This technique is my favorite method for How to Layer Vinyl Cricut because it removes guesswork and helps prevent crooked vinyl decals.
Step 3: Cut Your Vinyl Pieces
Click Make and send your design to your mats. Each color will appear on a separate mat with its registration marks at the top.

Use the matte vinyl setting or permanent vinyl setting depending on your material. Always test a small cut if you’re unsure.
After cutting, weed all vinyl pieces completely using your weeding tool. Make sure every piece stays on the paper backing and the vinyl backing remains intact.
Step 4: Prepare the First Layer
Choose your first layer carefully.
Apply a piece of transfer tape over the vinyl decal design. Burnish gently.
Peel away the paper backing so the vinyl sticks to the carrier sheet.
Step 5: Align the Second Layer Using Registration Marks
Take your second layer and line up the registration marks directly on top of each other.
Once aligned, press the transfer tape down and burnish lightly. The step-by-step video tutorial above approach helps avoid shifting.
Peel the backing slowly, making sure the registration marks stay attached.
Step 6: Continue Layer by Layer
Repeat the same process for each next layer:
- Align registration marks
- Press gently
- Burnish lightly
- Peel carefully
If something shifts a little bit, don’t panic. Permanent vinyl is more forgiving than people think. You can gently lift and reposition with a weeding tool.
Hand tremors, thin vinyl pieces, or small details can cause slight movement. That’s normal.
Step 7: Remove Registration Marks
Once all layers of vinyl are stacked and aligned, remove the registration marks. They should peel away cleanly, leaving only your final design.
Now your layered vinyl decal is ready for placement.
Step 8: Apply the Finished Product
Place your finished product onto your base material. Use grid lines to help center the design.
Burnish firmly and remove the carrier sheet slowly. If giving this decal to someone else, you can leave it on the transfer tape.
Congratulations—you’ve completed your final project.
Tips for Beginners Layering Vinyl for the First Time
If this is your first time layering vinyl, a few simple habits can make a big difference in how confident you feel throughout the process.
- Start with three layers instead of tackling a complex, multi-color design
- Weed all vinyl pieces before you begin layering so nothing feels rushed
- Use registration marks every time, they’re the easiest way to stay aligned
- Work slowly and peel backing at a shallow angle
- Expect a little trial and error, especially with thin vinyl pieces
Hand tremors, transfer tape bunching, or small pieces shifting can happen to anyone. Videos are edited, real crafting is not. What matters is continuing through the next step instead of starting over.
Troubleshooting Common Layered Vinyl Issues
Even with the best setup, layered vinyl projects can hit a few snags. Here’s how to fix the most common ones without scrapping your entire design.
Vinyl isn’t lining up perfectly
Double-check that your registration marks are stacked directly on top of each other. If a layer is slightly off, gently lift it using a weeding tool and reposition. Permanent adhesive vinyl allows a little bit of adjustment.
Transfer tape is sticking too aggressively
Lightly tap the transfer tape on fabric or your cutting mat first to reduce tack. This helps prevent the vinyl backing from lifting unexpectedly.
Small pieces shift during layering
Thin vinyl pieces can move when burnishing. Use lighter pressure with your squeegee and work from the center outward.
Bubbles appear between layers
Burnish each layer slowly and evenly. If a bubble forms, lift just that area and smooth it back down before moving to the next layer. Or poke with a pin lightly to remove air.
Free SVG Files and Community Vault Access
The free Anti-Valentines Day file bundle is available inside my Community Vault and you’ll need to subscribe to my free newsletter below. Allow about 5-10 minutes for the welcome letter to arrive in your inbox. This design is number #212 in the Community Vault.
Learn how to download all of my free SVG files here.
Stay Crafty!

![DIY Train Party Favors [+ Free SVG File Template]](https://dinosaurmama.com/wp-content/uploads/2022/06/train.jpg)


Thank you , you are so talented xx
Thank you Kelsey. Great video and tutorial as always. I love that you explain everything so simply.
And thank you for the lovely free svgs x