Layer HTV with the Knockout Method | Free Patriotic SVG Files
started lifting after a few washes, the HTV knockout method might completely change the way you make layered shirts, aprons, bags, and other iron-on projects.
Today I’m walking you through exactly how I use the knockout method in Cricut Design Space to create layered HTV projects that look cleaner, press better, and last longer. This tutorial is beginner friendly, but I’m still going deep into the actual setup process so you can confidently recreate this technique on your own projects.
For this tutorial, I used my Cricut Maker 4, but this same knockout technique works with almost any cutting machine including older Cricut machines, Silhouette machines, and other SVG-compatible cutters.
The biggest goal with the HTV (iron-on) knockout method is reducing unnecessary layers of iron-on vinyl. Instead of stacking HTV directly on top of another thick layer, you remove the underneath portions so your top layer adheres directly to the fabric. That means less bulk, better adhesion, and cleaner results.

What Is the HTV Knockout Method?
The knockout method is a layering technique where you remove the hidden vinyl underneath your top pieces before cutting your project. Instead of placing one solid image on top of another solid image, you create empty space in the bottom layer so each color fits together more like a jigsaw puzzle.
This is one of the best ways to create professional-looking layered shirts without building up thick layers of iron-on vinyl. When using the htv knockout method, your vinyl colors sit side-by-side instead of fully overlapping.
Think of it like puzzle pieces.
Your base layer becomes a guide for every other color in your design. The top layer fits perfectly into the cutout area, which makes placement easier and helps prevent excessive thickness.
The first thing I love about this method is that it actually simplifies layering. A lot of beginner Cricut tutorials make layering feel intimidating, but once you understand the slice method, this becomes much easier than trying to manually line up solid letters or guess spacing.
Why the HTV Knockout Method Lasts Longer
The reason the HTV knockout method works so well comes down to adhesion.
When you press HTV directly onto fabric using a heat press or Easy Press, the adhesive bonds properly with the fibers of the material. But when you continuously stack layers of iron-on vinyl on top of each other, the adhesive is bonding to vinyl instead of fabric.
Over time, repeated washing and wear can weaken that bond.
By removing the hidden excess vinyl underneath, you reduce direct contact between thick layers of HTV. That helps the design flex better and often improves durability after washing.
Supplies You Need
Some of the links in this post may be affiliate links. That means I may earn a small commission at no extra cost to you if you purchase through those links. Read my full disclosure here. I only recommend supplies I genuinely use in my own craft room.
Here are the supplies I used for this project:
- Cutting Machine
- StandardGrip cutting mat
- Heat transfer vinyl in different color combinations
- Heat press or Easy Press
- Teflon sheet
- Weeding tool
- Brayer (optional)
You can absolutely use other brands of HTV for this project. Just make sure you double-check your material settings, recommended blade settings, and press instructions based on the type of vinyl you are using.
How to Set Up the HTV Knockout Method in Cricut Design Space
The first step in the HTV knockout method is uploading your SVG into Cricut Design Space and resizing it to the right size for your project.
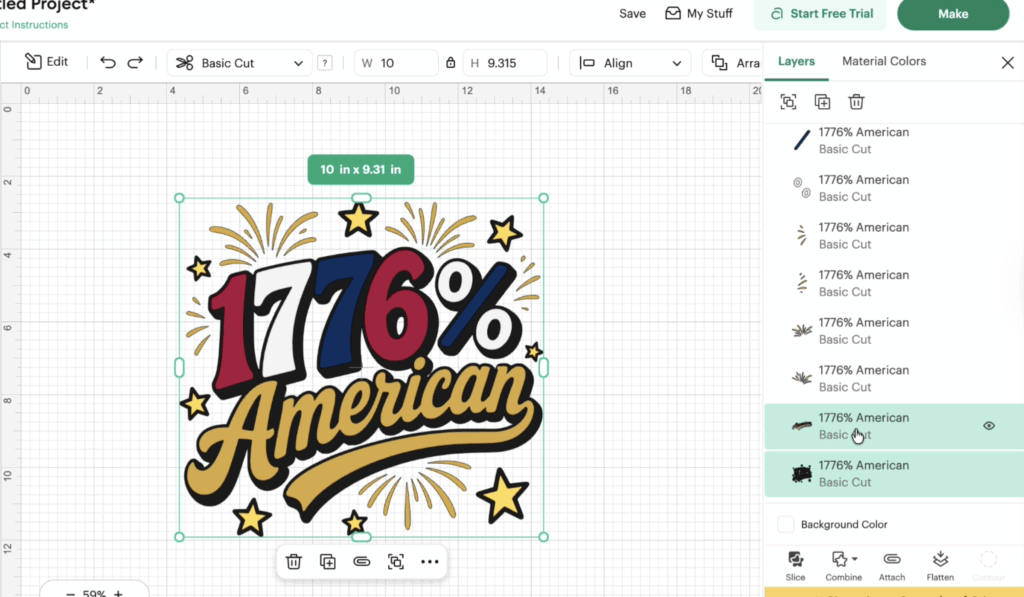
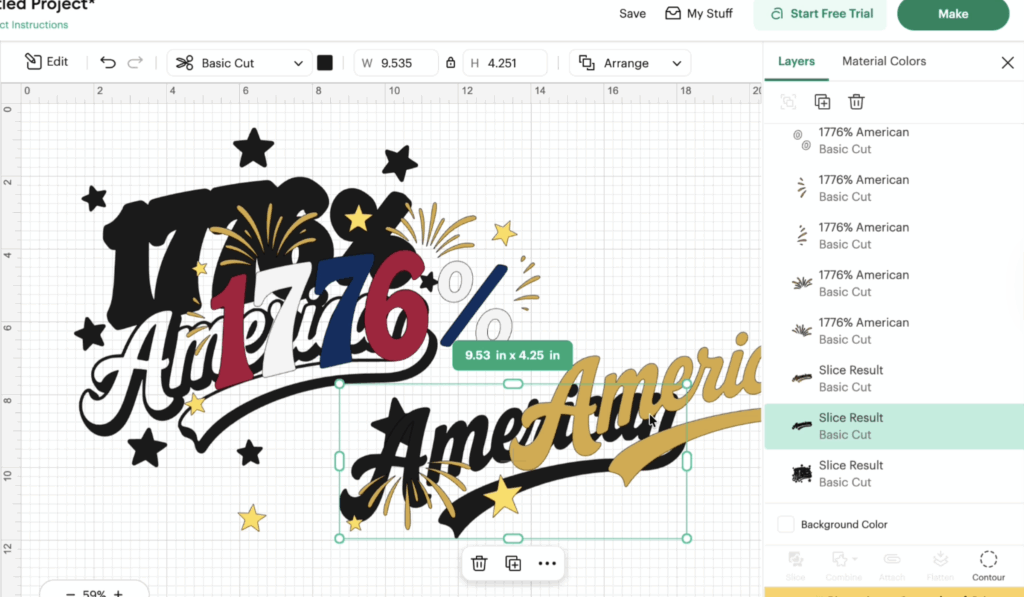
Once your design fit looks good, start by ungrouping the entire design. Some SVG files may need to be ungrouped multiple times before all the individual pieces separate.
In my design, I had a solid black offset behind the wording and graphics. That backing layer is what we are going to modify using the slice tool.
The easiest way to explain this is:
- Slice each top piece out of the backing
- Delete the duplicate sliced pieces
- Leave the cutout space behind
That empty space becomes your placement guide later.
Using the Slice Tool
The slice tool is the key to the entire knockout method.
Start by selecting one top piece and the bottom layer together. Then click “Slice.”
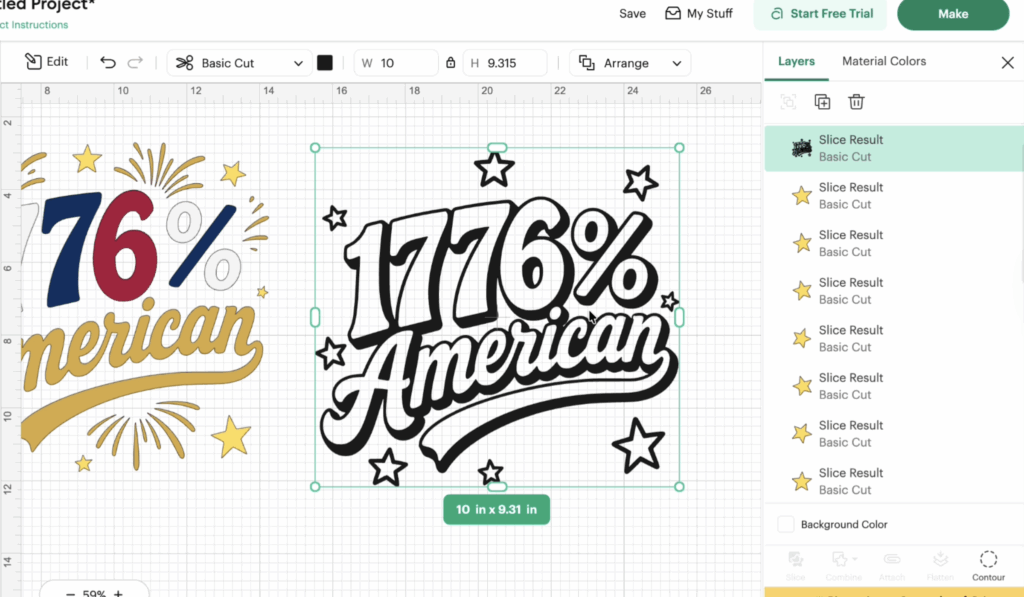
After slicing, Cricut Design Space creates three individual pieces:
- The original top layer
- The sliced duplicate
- The modified backing layer
Delete the duplicate slice piece because you no longer need it.
Repeat this process piece by piece across the entire design.
One thing: you cannot select multiple pieces at once for this technique. Cricut Design Space will gray out the slice option if too many layers are selected together.
While there are other tools like subtract or combine, they usually remove important middle parts of the letters or delete areas you still need.
For the cleanest results, go one piece at a time.
Yes, it is slightly slower than the harder way of stacking solid layers, but the finished project looks significantly better.
The htv knockout method especially shines with layered text because the solid letters lock into the backing like a puzzle.
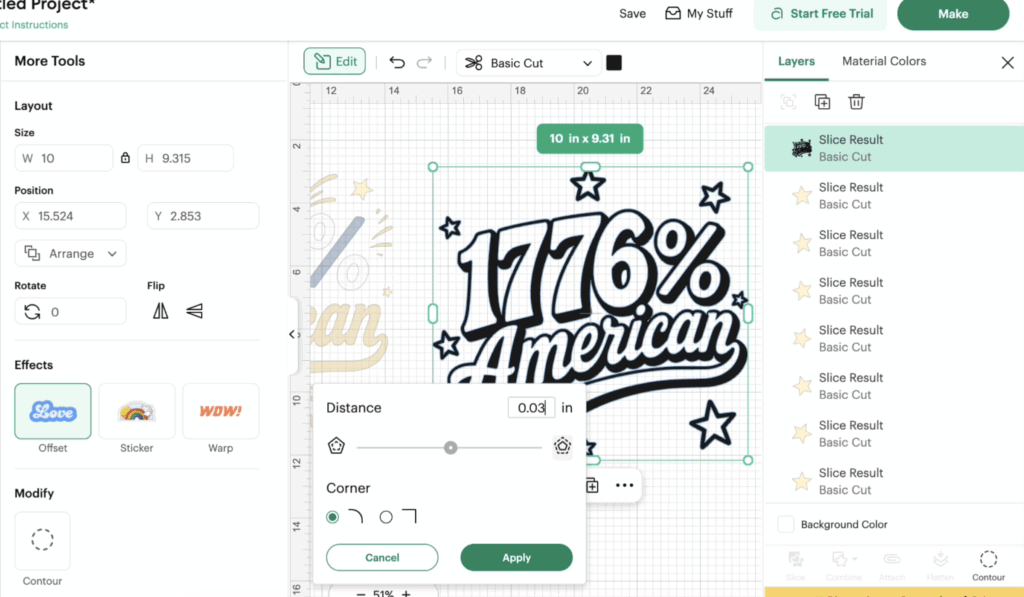
Preventing Shrinkage with the Knockout Technique
One thing many people notice with the knockout technique is slight shrinkage after pressing.
HTV can shrink a little when exposed to heat, especially glitter heat transfer vinyl or thicker specialty finishes.
There are two ways I personally handle this:
Option 1: Offset the Bottom Layer
You can slightly increase the size of the design on your bottom layer using the offset tool in Cricut Design Space.
I recommend creating only a tiny little overhang. Think extremely subtle.
This allows the top layer to shrink slightly while still covering the cut lines underneath.
Option 2: Offset Individual Pieces
You can also create a tiny offset around each individual piece before cutting.
This takes longer because every piece must be adjusted separately, but it works well for smaller sized design elements or intricate file cut details.
The best way to test this is by experimenting with scrap material first.
Different materials, vinyl colors, and heat settings all affect shrinkage differently.
Preparing Your HTV for Cutting
Before cutting your design, place your HTV shiny side down onto your cutting mat.
The shiny side is the carrier sheet side and should always face downward when cutting heat transfer vinyl.
I always recommend using a brayer here because it helps press the material flat against the cutting mat and reduces lifting during cutting.
Double-check your cut settings and make sure mirror mode is enabled.
Some Cricut material settings automatically mirror the file cut, but many non-Cricut brands require manual mirroring.
Always verify before cutting.
Weeding the Knockout Design
Once everything is cut, it is time to weed.
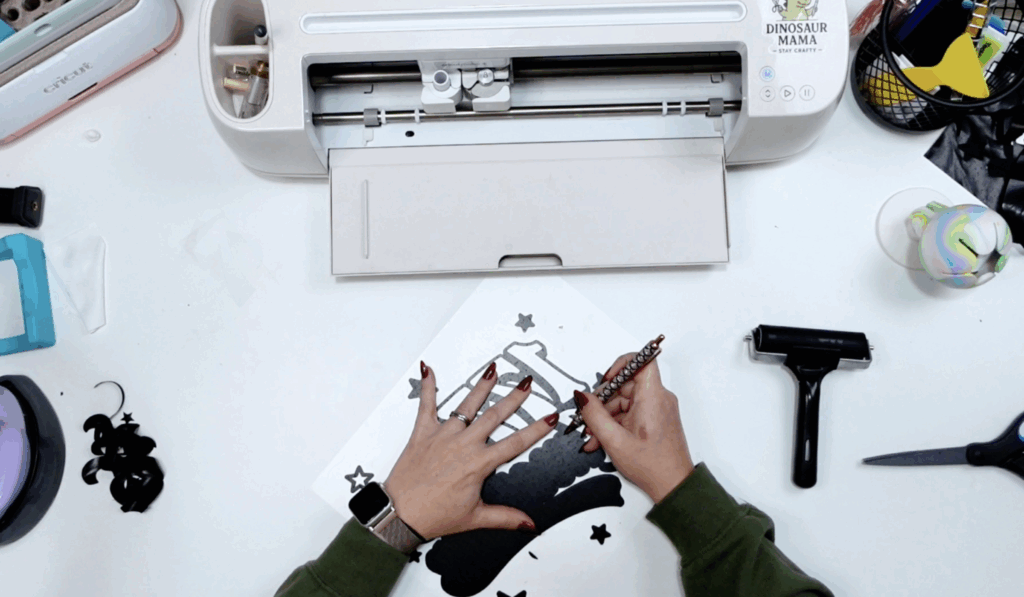
This is where the HTV knockout method starts looking really cool.
Instead of weeding one giant solid image, you are creating open areas where your other layers will sit.
Use your weeding tool to remove all excess vinyl and keep the knockout openings clean.
Pay extra attention to:
- Middle parts of the letters
- Tiny details
- Small individual pieces
- Empty space sections
When you flip the design over, you should clearly see the knockout areas where future layers will fit.
It almost feels like assembling a jigsaw puzzle later during pressing.
Honestly, this is one reason I think the knockout method is easier for beginners than traditional layering.
Your guide is already built into the design.
Pressing Your First Layer
Before pressing, pre-press your fabric for a few seconds to remove moisture and wrinkles.
For this project, I used an apron and pressed at 310 degrees for 15 seconds using a heat press.
Position your bottom layer first.
Because the bottom layer now contains all your knockout openings, it becomes the guide for your entire design.
Cover everything with a Teflon sheet before pressing.
I strongly recommend using a Teflon sheet for layered projects because it protects your HTV from overheating and helps avoid scorching.
Once pressed, allow the carrier sheet to cool if your HTV is cold peel.
Different brands behave differently, so always follow the instructions for your material type.
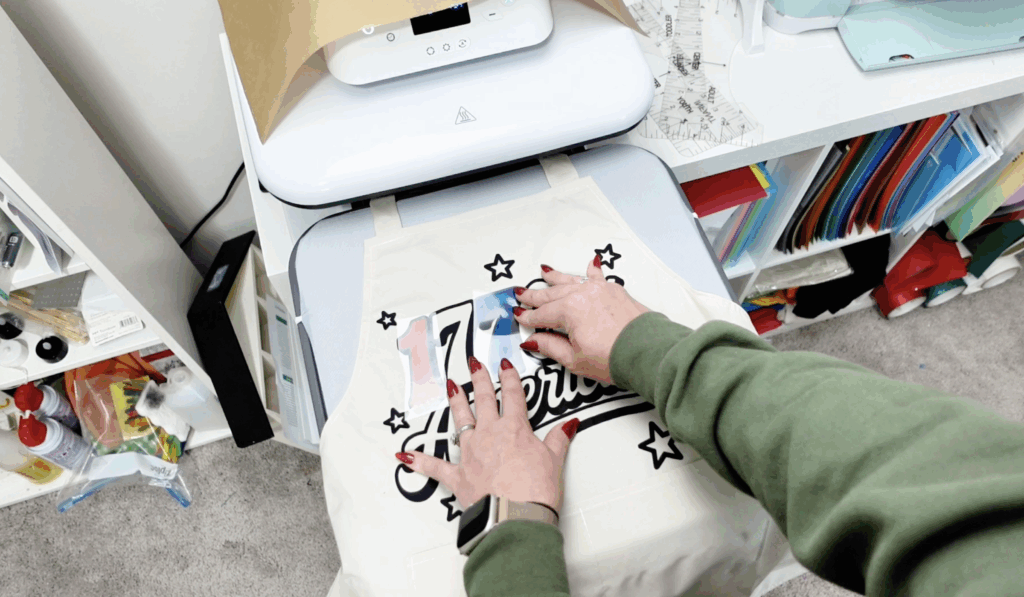
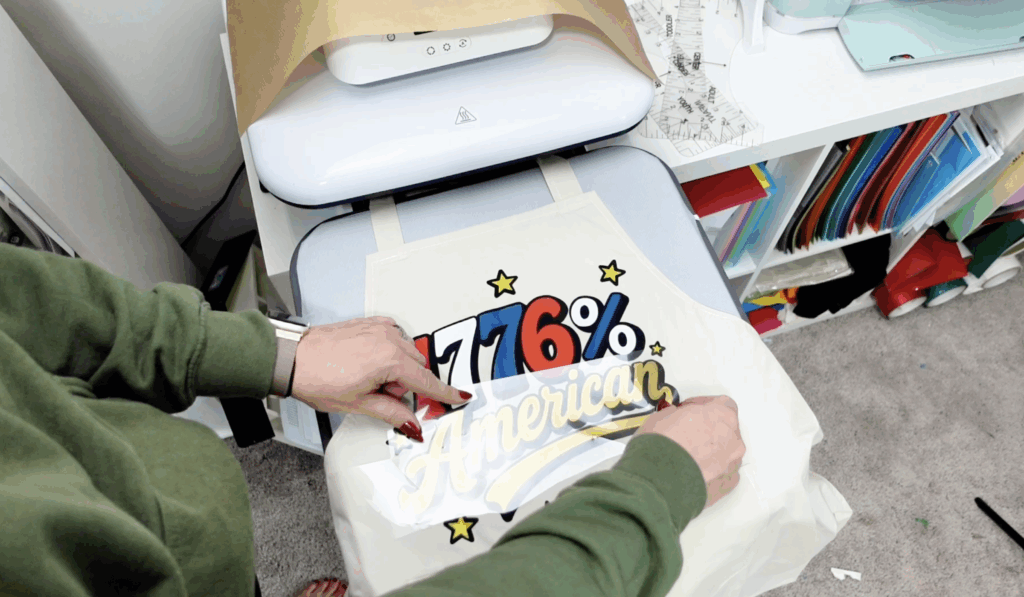
Layering the Remaining Pieces
Now comes the fun part.
Start placing your second-layer pieces directly into the knockout openings.
Because the bottom layer already contains those cut lines, the placement becomes much more precise.
This is where the HTV knockout method becomes incredibly helpful for layered text and detailed designs.
One important thing to remember:
Do not allow actual HTV to overlap onto the plastic carrier.
That defeats the purpose of the knockout technique.
Instead, work strategically:
- Press non-overlapping sections together
- Add smaller pieces separately
- Save overlapping sections for later
- Trim carrier sheet edges when needed
This minimizes repeated pressing and protects your entire design from overexposure to heat.
Why I Prefer the HTV Knockout Method
I genuinely think the HTV knockout method creates cleaner projects.
Traditional layers of iron-on vinyl can feel bulky, especially on shirts with multiple colors or larger designs. With the knockout method, the finished project feels softer and more flexible.
It also helps conserve material because you are removing hidden sections instead of wasting extra vinyl underneath.
Another reason I love this method is the placement accuracy.
Trying to manually line up adhesive vinyl or HTV layers without guides can be frustrating. But the knockout spaces create an exact fit for each section.
It is almost impossible to misalign the design once your base layer is pressed correctly.
Download Your Free SVG Files

This free 1776% American SVG file is available inside my Community Vault Design Number #227.
Here’s how to get it:
- Enter your email below
- Check your inbox for the password (will be sent within 5-10 min, check spam and promotions!)
- Open the vault with the password sent
- Download the zip file and then follow the instructions below.
Learn how to download the files here.
Important Usage Info
These free downloads are intended for personal use, but I do include a small business commercial use license for handmade physical items.
More Free Patriotic SVG Files
If you loved this project, make sure to check out these additional patriotic SVG files from my crafty friends. Please check each designer’s individual usage terms before using their files commercially.


- Starburst by Flowingcreek
- Everything is Better With a Little Sparkle by Harper N Co
- Party in the USA by Gina C. Creates
- American by Try It – Like It – Create It
- Let Freedom Ring by The Quiet Grove


- Patriotic Party Favors by The Crafty Blog Stalker
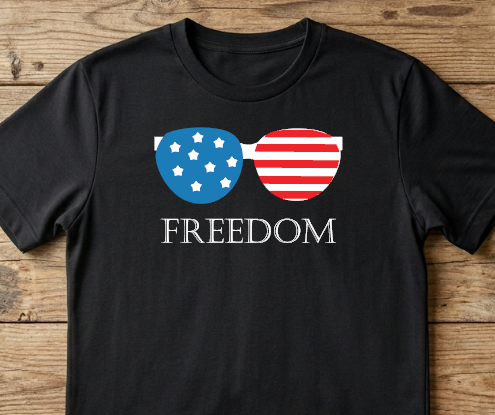
- Freedom Sunglasses by Kiy’s Craftroom
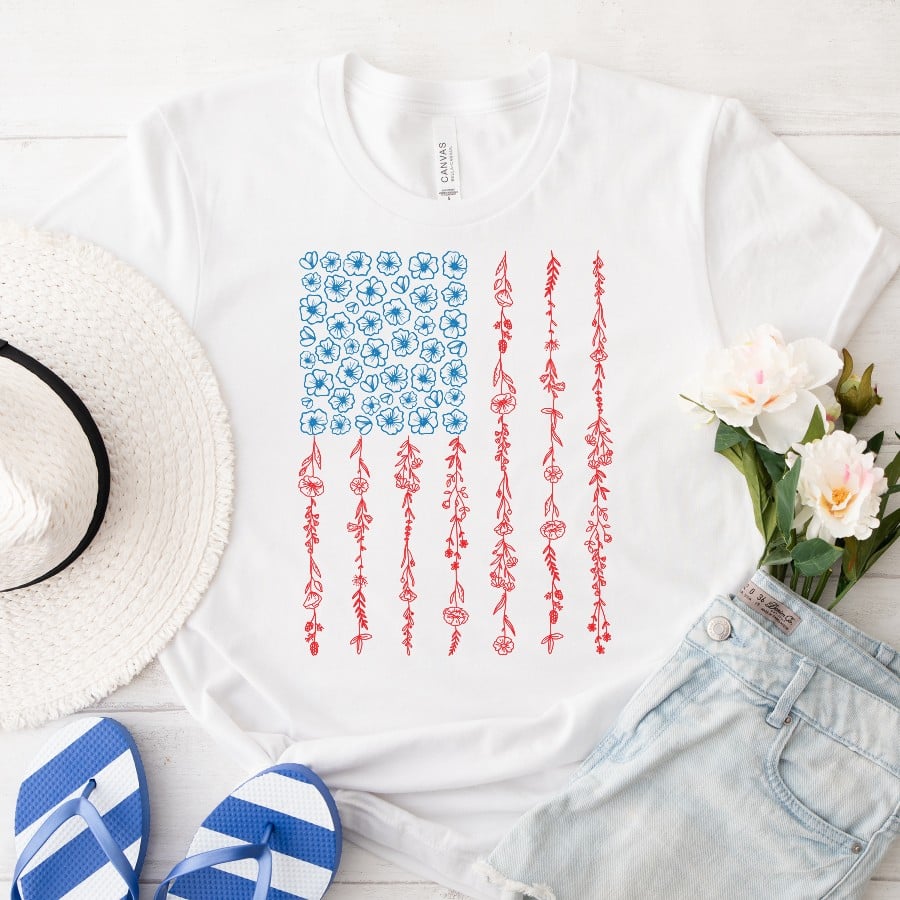
- Floral Flag by The Scrap Shoppe
- Fireworks Director by Sunshine and Munchkins
- USA Frame by Main Road Digital Creations


The HTV knockout method is one of my favorite Cricut tutorials for layered heat transfer vinyl because it gives you cleaner results without making the process overly complicated. Once you try this method a couple times, it becomes second nature.
Whether you are making shirts, tote bags, or gifts, this knockout technique is one of the easiest ways to create professional layered HTV projects that actually hold up over time.
Stay crafty!


![DIY Train Party Favors [+ Free SVG File Template]](https://dinosaurmama.com/wp-content/uploads/2022/06/train.jpg)


Great idea – thanks! I do not have the press you have, I have an easy press. One question for you about doing the layering. You do the bottom black layer on the first press- then every other number the second press – when you do the other numbers on the third press – the lines from the plastic leave crease lines in the numbers you already pressed – how do you stop that from happening?
Thank you! The dents will happen with layering whether you knock out or not – SO ANNOYING! My suggestion is to cut down the plastic sheet as much as you can and then do one quick final press over it with teflon.