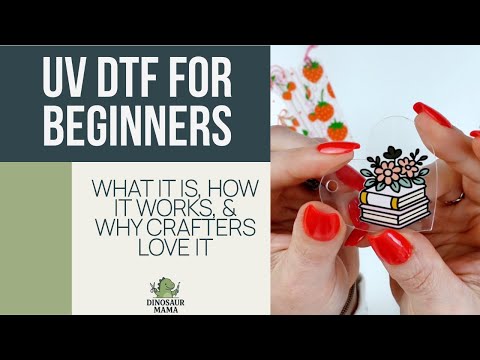
What is UV DTF and How Can You Use it: a Guide for Beginners
If you’re a Cricut crafter who is tired of layering vinyl, weeding 10–20 different colors, or wasting materials on miscuts, then UV DTF might become your new favorite crafting shortcut. Over the last year, UV DTF stickers have exploded in popularity because they give crafters the ability to apply high-quality prints with vibrant colors onto a wide range of applications: all without using a heat press, vinyl, or any complex cutting steps.
In this guide, I’ll walk you through what is UV DTF, how the UV DTF printing technology works, how to order from Jiffy (where you can use my discount code DINOMAMA20 to save 20% off transfers), and the beginner mistakes you’ll want to avoid. Whether you’re crafting for fun or you are a business owner hoping for quick turnaround times, UV DTF is a popular choice thanks to its exceptional durability, ease of use, and ability to stick to various surfaces, even uneven surfaces and non-porous surfaces like acrylic, plastic, and metal.
What Is UV DTF? (Beginner-Friendly Definition)
If you’re wondering what is uv dtf, think of it as a pre-printed decal made with UV-curable inks that harden under UV light. Instead of cutting layers of vinyl, the design is printed on UV DTF film using a specialized UV printer or UV DTF printer. These printers use a combination of white ink, UV inks, color layers, and an adhesive that bonds to hard surfaces and various substrates.

Unlike traditional vinyl decals or traditional sticker sheets, UV DTF designs have fine details, high-resolution prints, and durable designs that look professionally made. You peel the backing, press the printed image onto your surface, rub it down, and remove the top film. No weeding. No layering. No guesswork.
Because the entire design prints as one layer, you get detailed prints that feel smooth and permanent. Perfect for water bottles, phone cases, acrylic blanks, hard goods, and even promotional items.
How UV DTF Printing Technology Works
Before using it, it helps to understand the innovative printing process behind UV DTF. The design is printed onto PET film: a clear thin film, using UV-cured inks. As each layer is sprayed, ultraviolet light instantly cures it, creating durable prints that can withstand daily use, moisture, and handling.
The structure typically has three parts:
- Adhesive layer – bonds to various surfaces
- Color layer – where your high-resolution images come from
- White ink layer – adds opacity and crispness
- Top transfer film – used during the application process
This digital printing method eliminates the need for adhesive powder, heat-activated glue, or a heat press, making it wildly different from DTF printers that rely on dtf inks and powdered adhesive. That’s also why uv dtf vs uv printing is a completely different conversation; UV printers print directly onto a surface (uv direct), while UV DTF creates a standalone transfer.
Because all layers fuse together during curing, the decal becomes flexible, long-lasting, and resistant to peeling. This gives crafters excellent print quality and the ability to apply artwork to a huge variety of surfaces that normally don’t work well with vinyl.
UV DTF vs Traditional Vinyl Layering
Many Cricut users discover UV DTF because they want a break from layering. Vinyl can be beautiful, but it’s also:
- Time-consuming
- Material-heavy
- Easy to misalign
- Limited in fine details
If your Cricut tells you a design requires 20+ colors, you’re looking at a lot of mats, cuts, and weeding. UV DTF removes all of those steps. Since the artwork prints as one piece, you get unique designs with full-color prints instantly.
You also avoid issues that come with traditional printing methods, like bubbling on non-porous surfaces or layering failure on curved items. In terms of durability, UV DTF creates durable designs and high quality results that hold up far better than traditional layered vinyl.
UV DTF vs Cricut Print Then Cut
If you’ve ever used Cricut’s Print Then Cut, you know the limitations:
- Size restrictions
- Cutting registration issues
- Less vibrant color saturation
- Not ideal for hard surfaces
Print Then Cut uses your home printer and does not create exceptional durability. The prints aren’t waterproof unless you add laminate, and they simply do not compare to UV-cured inks or the high-quality prints produced through UV DTF printing technology.

This is where UV DTF shines. It gives you:
- Vibrant colors
- Long-lasting adhesion
- The ability to decorate unusual or various substrates
- A professional finish suitable for small businesses
While Print Then Cut is still great for planners or paper crafts, UV DTF opens the door to outdoor use, more precise artwork, and designs that feel professionally manufactured.
What Surfaces Can You Use UV DTF Prints On?
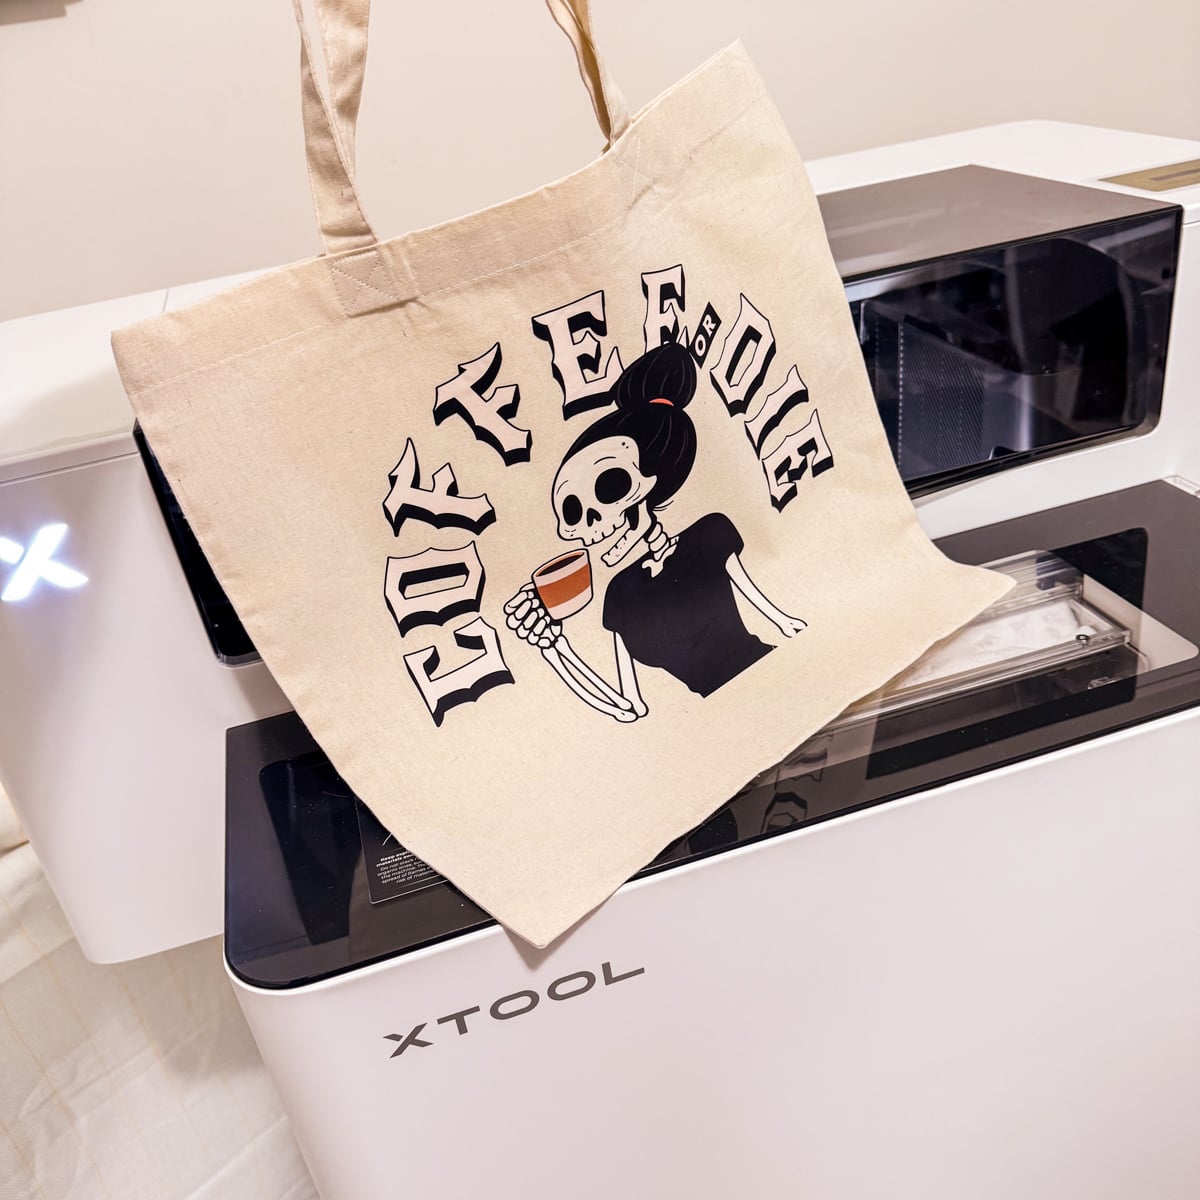
UV DTF works on almost every hard surface, including:
- Acrylic blanks
- Glass
- Stainless steel
- Plastic
- Wood
- Resin
- Metal
- Phone cases
- Water bottles

Because of its strong adhesive layer, UV DTF bonds beautifully to various surfaces that vinyl struggles with uneven surfaces or textured items. This makes it an ideal choice for crafters who want a wide range of applications without buying specialty vinyl.
Cost Comparison: Vinyl vs UV DTF Prints
One of the biggest reasons I started using UV DTF was cost. Vinyl is expensive, especially when you need a ton of colors. If I were to make a multi-layer design with 20+ colors, I would need:
- Several sheets of vinyl
- Time spent cutting each mat
- Time spent weeding
- Time lining everything up perfectly
By comparison, a sheet of UV DTF transfers printed through Jiffy costs about $1.04 for my six small images. That’s significantly cheaper, especially when you consider:
- No wasted vinyl
- No recuts
- No alignment issues
- No multi-step process
For business owners, this difference matters even more. Time saved is money saved, which is why UV DTF has become a popular choice for small businesses wanting to offer high-quality prints with quick turnaround times.
How to Order UV DTF Transfers From Jiffy (With Discount Code)
Ordering from Jiffy is extremely simple, and their shipping is unbelievably fast. Here’s how to do it:

- Visit jiffy.com
- Click “Stickers” → choose UV DTF stickers
- Upload your digital design
- Adjust your sizing (Jiffy auto-locks proportions)
- Select your quantity
- (Optional) Choose “pre-cut transfers”
You can even request color changes if you want them to modify the printed image.
Use code DINOMAMA20 for 20% off transfers at checkout to save on your order!
Jiffy also offers free shipping once you hit their minimum, which is easy when you’re ordering various applications like bookmarks, promotional items, and hard goods.
Step-by-Step Guide: How to Apply UV DTF Stickers
Even though UV DTF is simple, it helps to follow a step-by-step guide for the best results:
- Clean your application surface
Use rubbing alcohol to remove oils and dust. - Peel the backing carefully
You’ll see the white ink layer underneath. - Place the design
Once it touches the surface, it is permanent—UV DTF does not allow repositioning. - Rub firmly
Using a scraper or your fingers, apply even pressure across the entire design. - Remove the top film
Peel slowly to make sure everything has transferred. The result is a smooth, high-quality finish.
Because of the entire process and the nature of uv-cured inks, the transfer becomes one solid, durable layer that looks professionally applied.
Common Beginner Mistakes (and How to Avoid Them)
While UV DTF is easy, beginners often run into a few frustrations. Here’s what to watch for:
1. Not rubbing the design long enough
If parts don’t transfer, you may not have pressed evenly across the whole decal.
2. Applying to a dirty or oily surface
This interferes with adhesion, especially on non-porous surfaces.
3. Trying to remove and reposition
UV DTF does not behave like vinyl. Once the adhesive touches a surface, it’s bonded.
4. Stretching the film
Pulling too hard can distort the decal.
5. Applying to extremely curved items
Certain uneven surfaces may require extra care or smaller designs.
Avoid these issues and your durable prints will last a very long time.
Project Ideas Using UV DTF Prints
UV DTF opens the door to tons of creative projects:

- Phone cases with unique designs
- Water bottles for personal use or small businesses
- Acrylic keychains
- Bookmarks
- Resin ornaments
- Promotional items for events
- Teacher gifts
- Business branding on hard goods
Because UV DTF allows high-resolution images and full-color prints, the possibilities are endless.
UV DTF vs UV Printing (Quick Breakdown)
You might see the term uv dtf vs uv printing online, but they are very different:
UV Printing (UV Direct)
- Requires a large uv printer
- Prints directly onto the product
- Expensive equipment
- Ideal for manufacturers
UV DTF
- Uses a UV DTF printer to produce transfers
- Transfers stick to various substrates
- Affordable
- Accessible to hobbyists and small shops
If you want the look of professional UV direct printing without the investment, UV DTF is the perfect alternative.
Final Thoughts + Free SVG Download
Now that you know what is uv dtf, how it works, and how to apply it, you can start creating high-quality prints on a huge variety of surfaces—without layering vinyl, weeding for hours, or burning through materials. UV DTF is an ideal choice for beginners, Cricut crafters, and business owners wanting consistent, durable designs with minimal effort.
If you want to try UV DTF today, head to Jiffy and use code DINOMAMA20 to save 20% off on transfers on your first order.
👉 Download the free SVG featured in this tutorial inside my Community Vault! The book stack SVGs are Number #207 Floral Book SVGs in the community vault. Simply sign up for my newsletter below for the password (it will take about 5-10 minutes to arrive).
Please keep in mind it may take a few minutes to receive the welcome letter – please check spam or junk for it as well! The instructions for download can be found here for desktop and here for iPad/iPhone.
Stay crafty, friend!


These look
Great , thank you 🤩