Cricut Design Space for Beginners 2025 Tutorial: Part 1
If you just unboxed your Cricut machine, congratulations! Getting started can feel overwhelming, but don’t worry, you’re in the right place. This tutorial kicks off my Cricut Design Space for Beginners 2025 series, where I’ll guide you step by step through the software so you can build confidence and start creating.
In Part 1, we’ll cover the basics of Cricut Design Space: downloading the program, setting up your machine, exploring the home screen, and navigating the left-hand panel. We’ll keep it simple, no advanced projects yet, so you can learn at your own pace without feeling overloaded.
Whether you’re brand new or just need a refresher, this post will help you get comfortable with Cricut Design Space before diving into your first project.
What is Cricut Design Space?
Cricut Design Space is the free companion software used with all Cricut cutting machines. Think of it as your crafting command center. It allows you to upload designs, adjust sizing, work with text, and send projects to your Cricut to cut, draw, score, or foil.
One important note: Cricut also offers something called Cricut Access, a subscription that unlocks extra fonts, images, and projects. But you don’t need Cricut Access to use Cricut Design Space. The software is free, and you can absolutely learn and grow your Cricut skills without paying extra. I personally don’t use Cricut Access and instead rely on free SVG files (including the ones I share in my Community Vault). The community vault is password protected, please sign up for my free newsletter below to recieve the password.
Be sure to grab some of my free SVG designs to practice with as we go through this tutorial.
Downloading Cricut Design Space
You’ll find Cricut Design Space on the official Cricut website. It’s available for Mac, Windows, iOS, and Android devices. Most crafters start with the desktop version for Mac or Windows, since it gives you more flexibility when designing. I prefer this over the phone or iPad versions.
The installation is straightforward. Cricut will walk you through connecting your machine, either via Bluetooth or USB cable. Once you’ve installed Design Space and paired your machine, you’re ready to open it up for the first time.
When you launch the program, Cricut may prompt you to subscribe to Cricut Access. Remember: this is optional. You can skip it and still use all the essential functions of Design Space. Stick with me and I will show you how to get all the same features for free!
The Cricut Design Space Home Screen
When you log in, you’ll land on the home screen. This area is designed to inspire you with ready-made projects, tutorials, and shop promotions. For a true Cricut beginner, it can feel busy, so let’s break it down.

Here’s what you’ll see:
- Beginner projects: Simple, pre-designed projects you can start with.
- Trending crafts: Seasonal ideas and inspiration.
- Mystery boxes and Cricut shop links: Optional purchases (many require Cricut Access).
- Images for you: Suggestions based on what Cricut thinks you’ll like.
At the top, you’ll notice quick-start options like vinyl decals, iron-on shirts, gift tags, or starting with a blank canvas. These options guide you into project setup, but for now, think of them as shortcuts. We’ll dive deeper into the canvas in Part 2.
Tip: Don’t feel pressured to explore everything at once. Focus on learning the layout first, that’s the key to building strong Cricut skills.
The Left-Hand Panel: Your Tools & Projects
On the left side of the home screen, you’ll see a vertical menu. This panel is where you’ll manage your projects, images, and uploads. Here’s a breakdown:
- My Stuff: All of your uploaded SVG files and designs live here. If you’ve bookmarked fonts, images, or projects, you’ll find them neatly stored in this section.
- Images: Search or upload new images. You can bookmark favorites and organize them into collections (great for grouping seasonal projects, like fall or Christmas crafts).
- Projects: Ready-to-make projects from Cricut, including both free and paid options.
- Collections: A way to organize your work into folders, perfect if you plan to craft often.
- Cricut Access: A section promoting the subscription plan. As I mentioned earlier, this is optional.
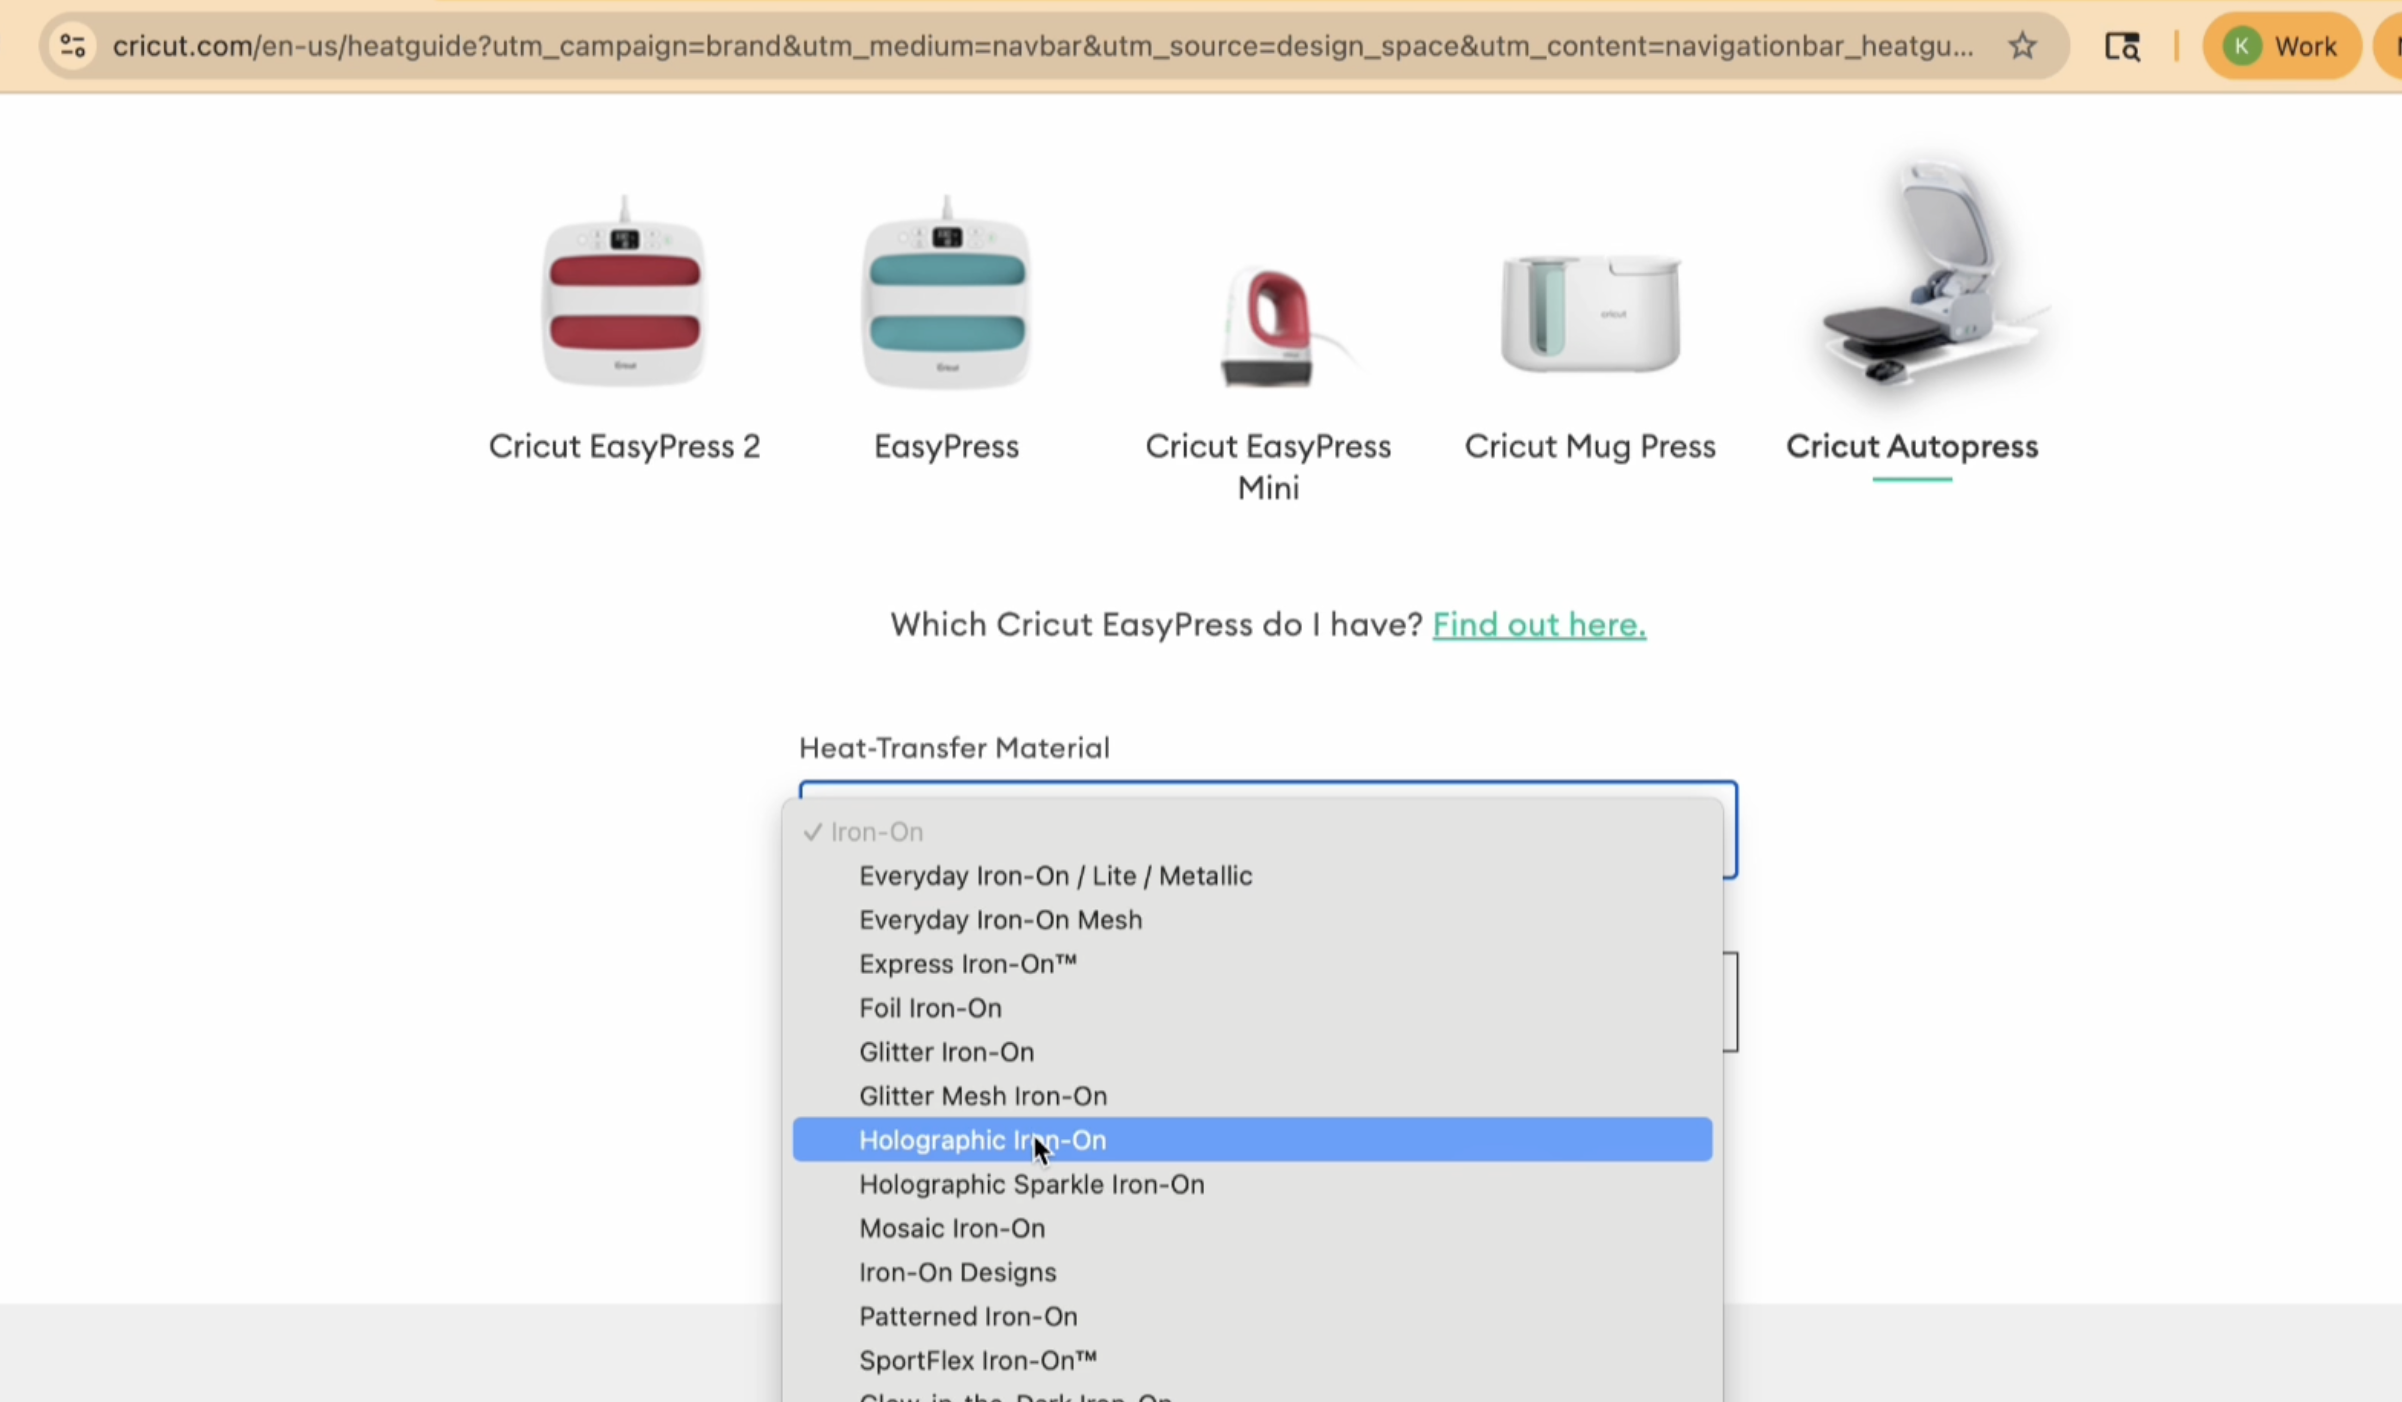
- Heat Guide: A built-in reference tool that helps you figure out the right time, temperature, and pressure when working with heat-transfer materials like vinyl.
- Cricut Shop: A quick link to buy supplies directly from Cricut.
At the very bottom, you’ll notice arrows that expand or collapse this side panel. If you’re working on a smaller screen, this can give you more room to view your designs.
Uploading Images: SVG vs PNG vs JPEG
One of the most powerful features of Cricut Design Space is the ability to upload your own designs. You’ll hear a lot about file types: SVG, PNG, and JPEG. Here’s what you need to know:

- SVG (Scalable Vector Graphic): The best format for Cricut. These files are layered, which means each color or shape can be cut separately. They stay sharp no matter how big or small you resize them.
- PNG/JPEG: These are flat images. They’re perfect for print then cut projects, where you print an image on your home printer and then let the Cricut cut around it. However, they don’t have layers like SVGs.

Example: If you upload a ghost SVG from my free files, you’ll see multiple layers appear in the panel. Each one can be cut separately. But if you upload a PNG gnome, it will import as a single layer for print then cut only.
This difference is huge, and understanding it early will save you lots of frustration on your first project.
Working with Fonts and Text
Text is another beginner-friendly way to explore Cricut Design Space. You’ll find a Text tool in the left panel.
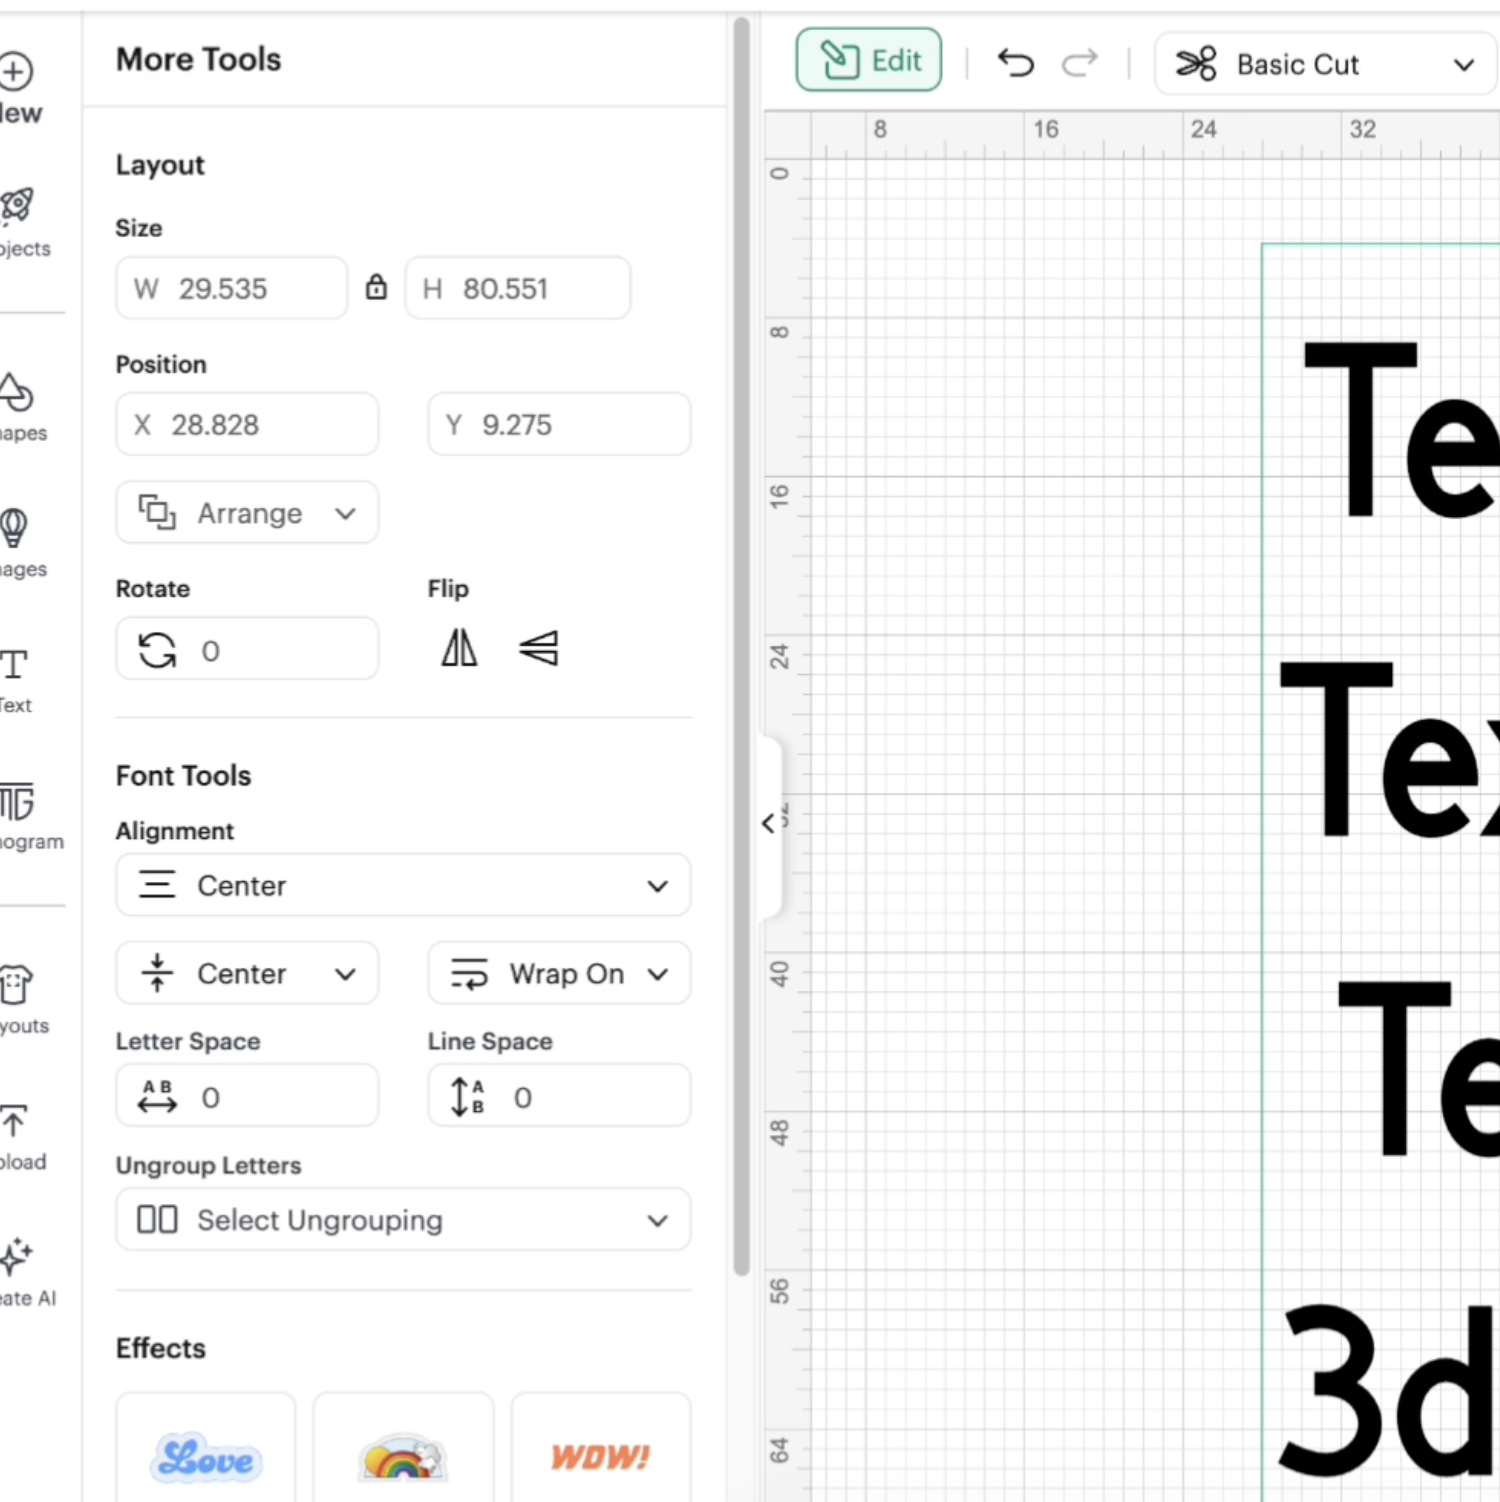
Cricut provides its own fonts (many require Cricut Access), but you can also use system fonts that are already on your computer, or download free ones online. When typing text, you’ll also start to experiment with things like letter spacing, which adjusts how far apart your letters are.
We’ll go much deeper into fonts and text in future tutorials, but for now, just know that Design Space makes it easy to mix Cricut and system fonts.
Cricut Supplies & Alternatives
From the home screen and side panel, you’ll see plenty of links pushing you toward the Cricut Shop. While Cricut-branded supplies are convenient, they’re not your only option.
I often use TechWrap, Siser, and other brands for vinyl and materials. These alternatives can save you money while giving you the same, or better, quality. If you do shop Cricut supplies, keep an eye out for sales.
Common Beginner Questions (FAQ)
Do I need Cricut Access to use Cricut Design Space?
No. Cricut Design Space is free. Cricut Access is a paid add-on for extra fonts and images, but you don’t need it to complete projects.
What’s the difference between an SVG and a PNG?
SVGs are layered files ideal for cutting projects. PNGs are flat images, best for print then cut designs.
Can I use my own fonts in Design Space?
Yes! You can upload system fonts installed on your computer. You aren’t limited to Cricut fonts.
What should my first project be?
Start simple. A one-color vinyl decal or paper cutout is a great first project to test your machine and learn the basics.
Are there free workshops to learn more?
While Cricut offers tutorials, I recommend using free resources like my blog and free SVG files. They’re a great way to practice without spending extra money.
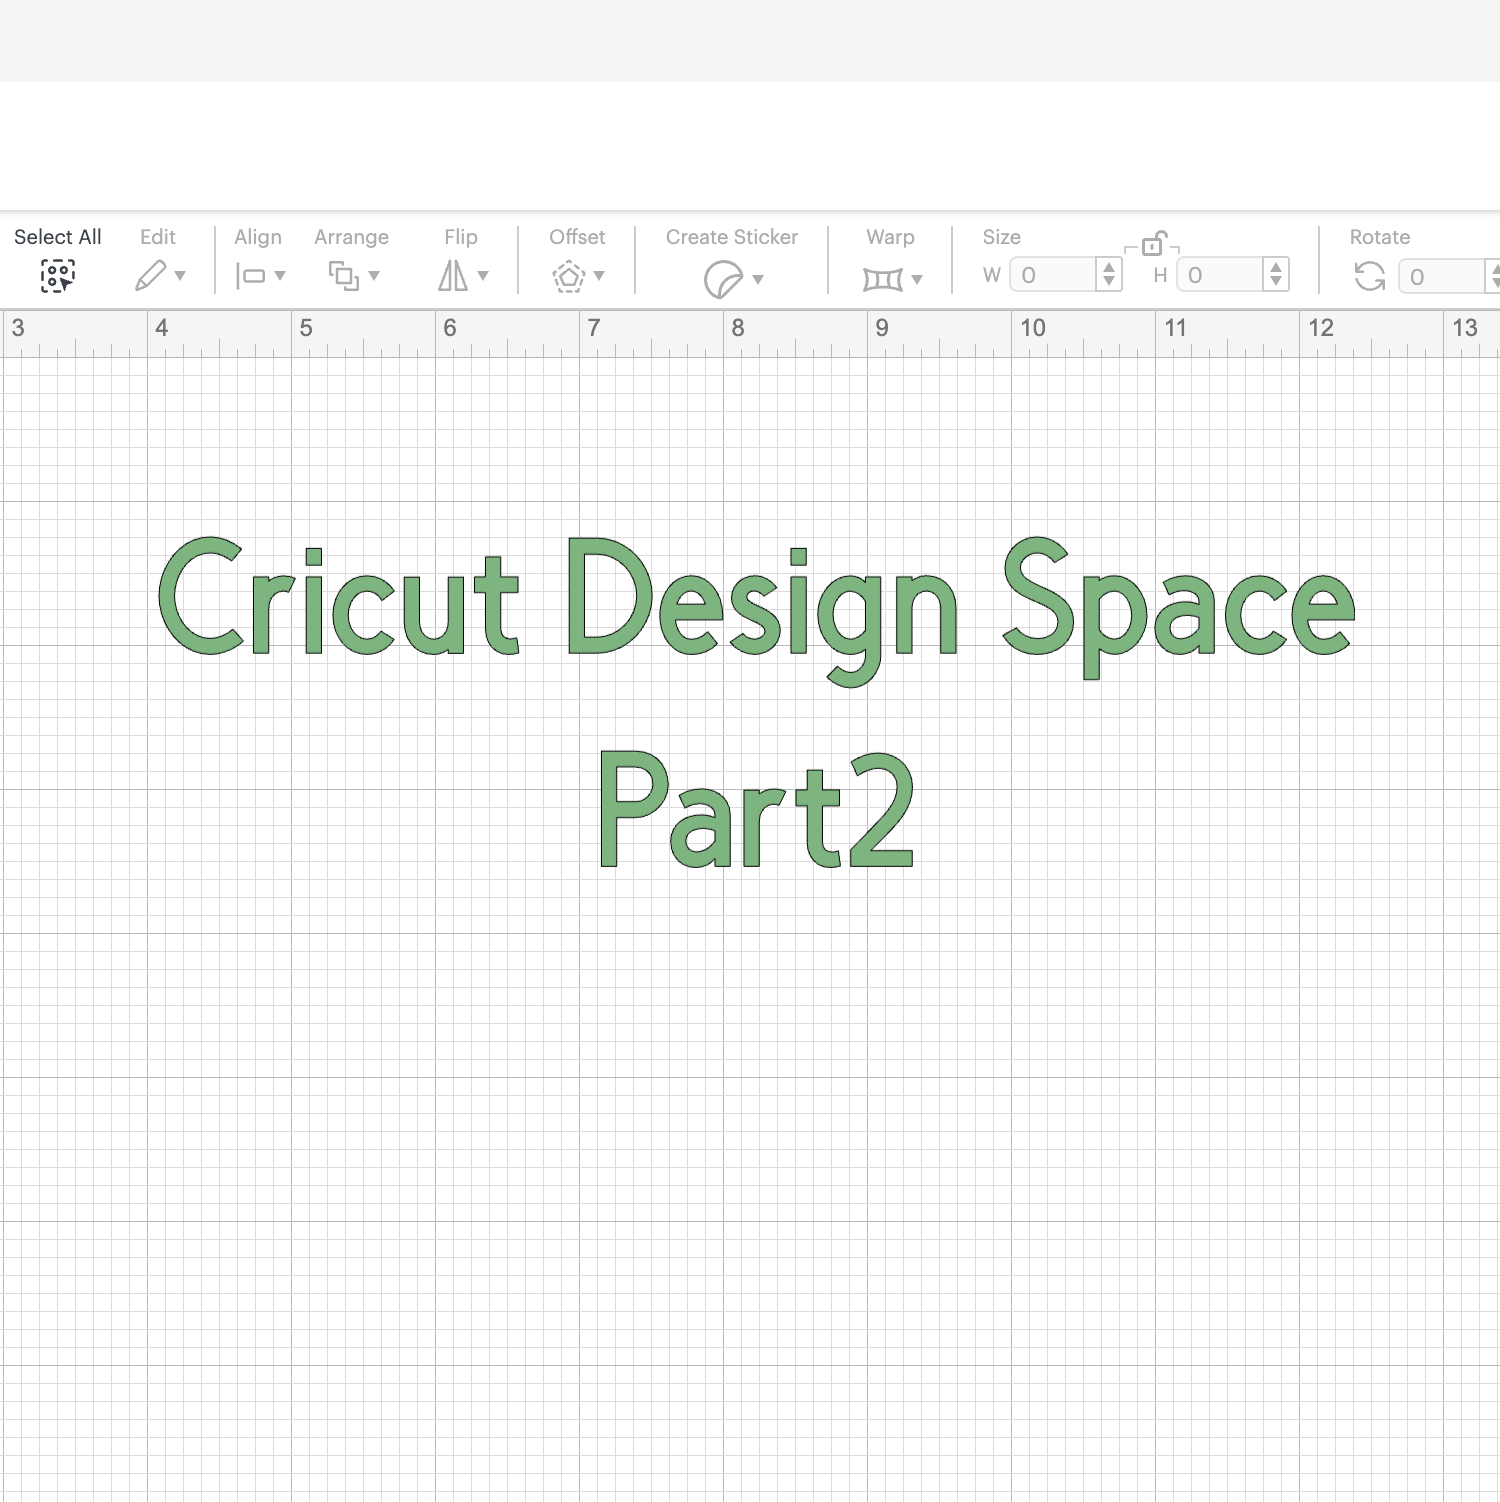
What’s Next in Part 2
Now that you know how to navigate the home screen and side panel in Cricut Design Space, you’re ready to move on to the next level. In Part 2, we’ll explore the top panel tools, like creating shapes, working with text, adjusting letter spacing, and even making a sticker.
Stay tuned for that tutorial, and in the meantime, download some of my free SVG files to start experimenting.
Remember: the more you practice, the faster your Cricut skills will grow.